Pattern 9 of 12 · Advanced · Toys & Gifts
Little Bear
Seven pieces, one small friend
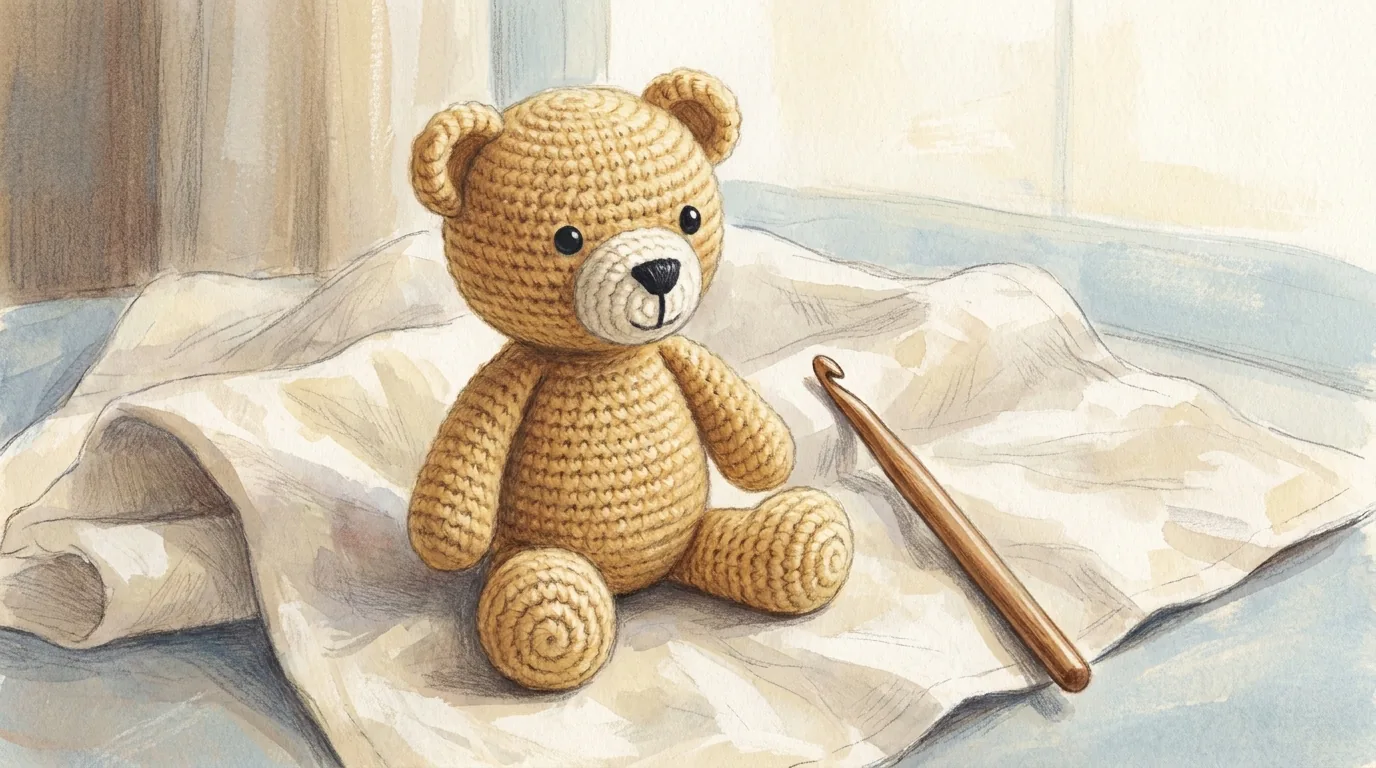
Design illustration. Colours and drape will vary with your yarn — this is a rendering of the design, not a photograph of a finished piece.
About this pattern
Amigurumi breaks one of the rules you have been following all collection: you deliberately use a hook far smaller than the yarn calls for. A 3.0 mm hook on DK yarn makes a fabric so dense that stuffing cannot push through it, and that density is what gives amigurumi its firm, sculptural shape.
Seven pieces — head, body, two arms, two legs, two ears and a muzzle — each worked as a spiral and sewn together at the end. Nothing here is technically harder than the beanie you have already made. What is harder is the tension, the counting, and the sewing, which is where the character of the finished bear actually comes from.
What this pattern teaches you
- Tight-tension amigurumi fabric
- The invisible decrease, which hides where stitches are lost
- Stuffing firmly and evenly as you close a piece
- Attaching safety eyes
- Sewing shaped pieces together and judging placement
- Embroidering facial details
Skills you'll own by the end
Before you start: Patterns 1–8. Continuous rounds, the magic ring, increasing and decreasing all come from Pattern 6.
Materials
| Yarn | DK weight (Category 3) cotton in the main colour, roughly 120 m / 130 yd, plus small amounts of a contrast colour for the muzzle and inner ears. Cotton is specified because it shows stitch definition crisply and does not fluff; the fuzz on acrylic hides exactly the detail you are working hard to create. |
| Hook | 3.0 mm (US C-2/D-3) — deliberately small for the yarn |
| Notions | Toy stuffing (about 30 g), tapestry needle, stitch marker, scissors, black embroidery thread or yarn for the nose and mouth |
| Eyes | Two 6 mm safety eyes. For a child under three, do not use safety eyes at all — embroider the eyes in black thread instead. Safety eyes are secure but not indestructible, and a determined toddler will win. |
Gauge
22 sc × 24 rounds = 10 cm / 4 in, worked tightly in the round
Gauge here is not about size, it is about density. Work a small circle and hold it up to a lamp: if you can see light between the stitches, the fabric is too loose and stuffing will show through as white flecks. Go down a hook size until the fabric is opaque, even if your hand complains.
Finished measurements
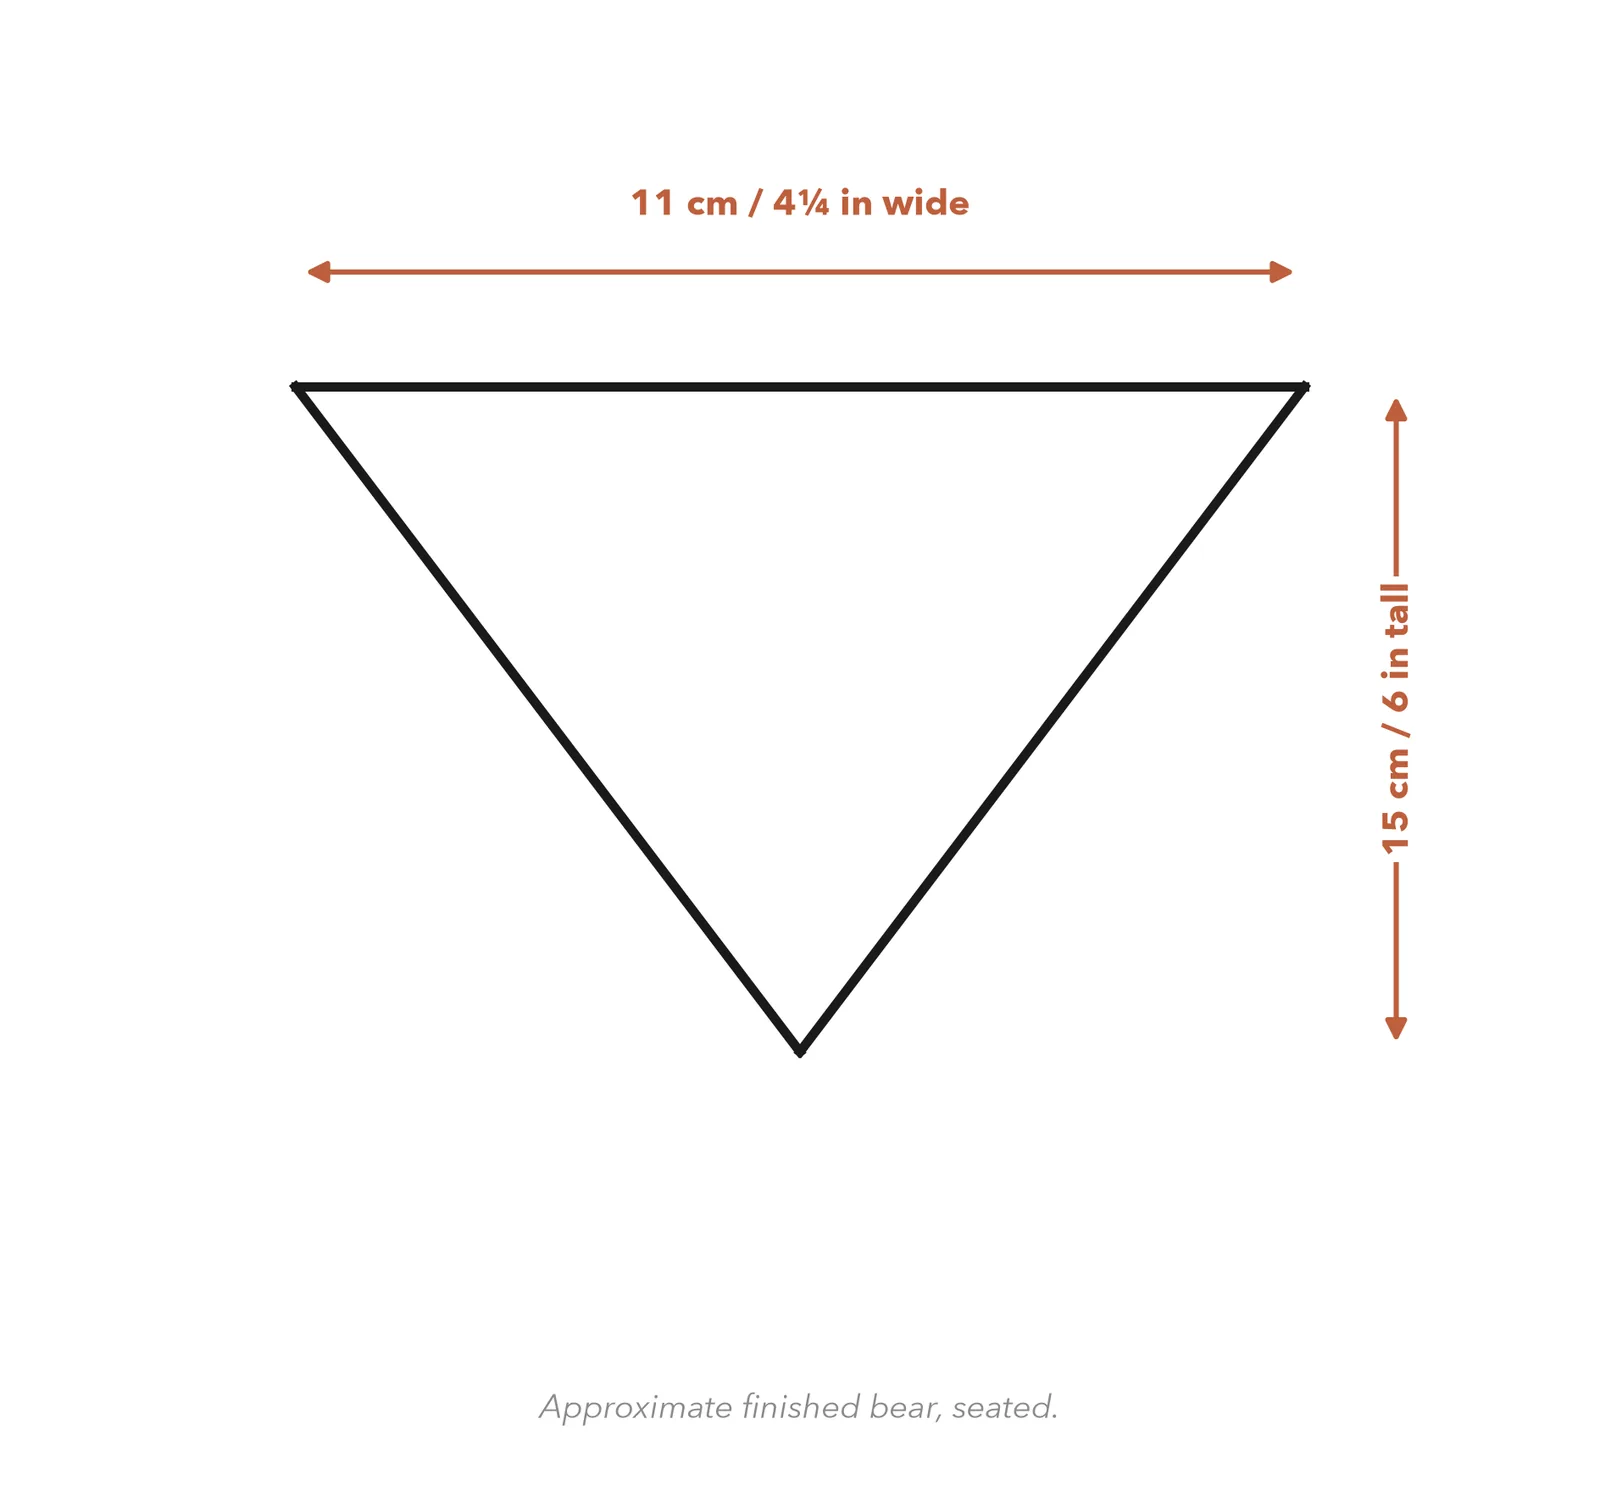
Approximately 15 cm / 6 in tall, seated
Abbreviations
This pattern uses US crochet terms.
| ch | chain |
| sc | single crochet |
| sl st | slip stitch |
| inc | increase — 2 sc in the same stitch |
| invdec | invisible decrease |
| dec | decrease |
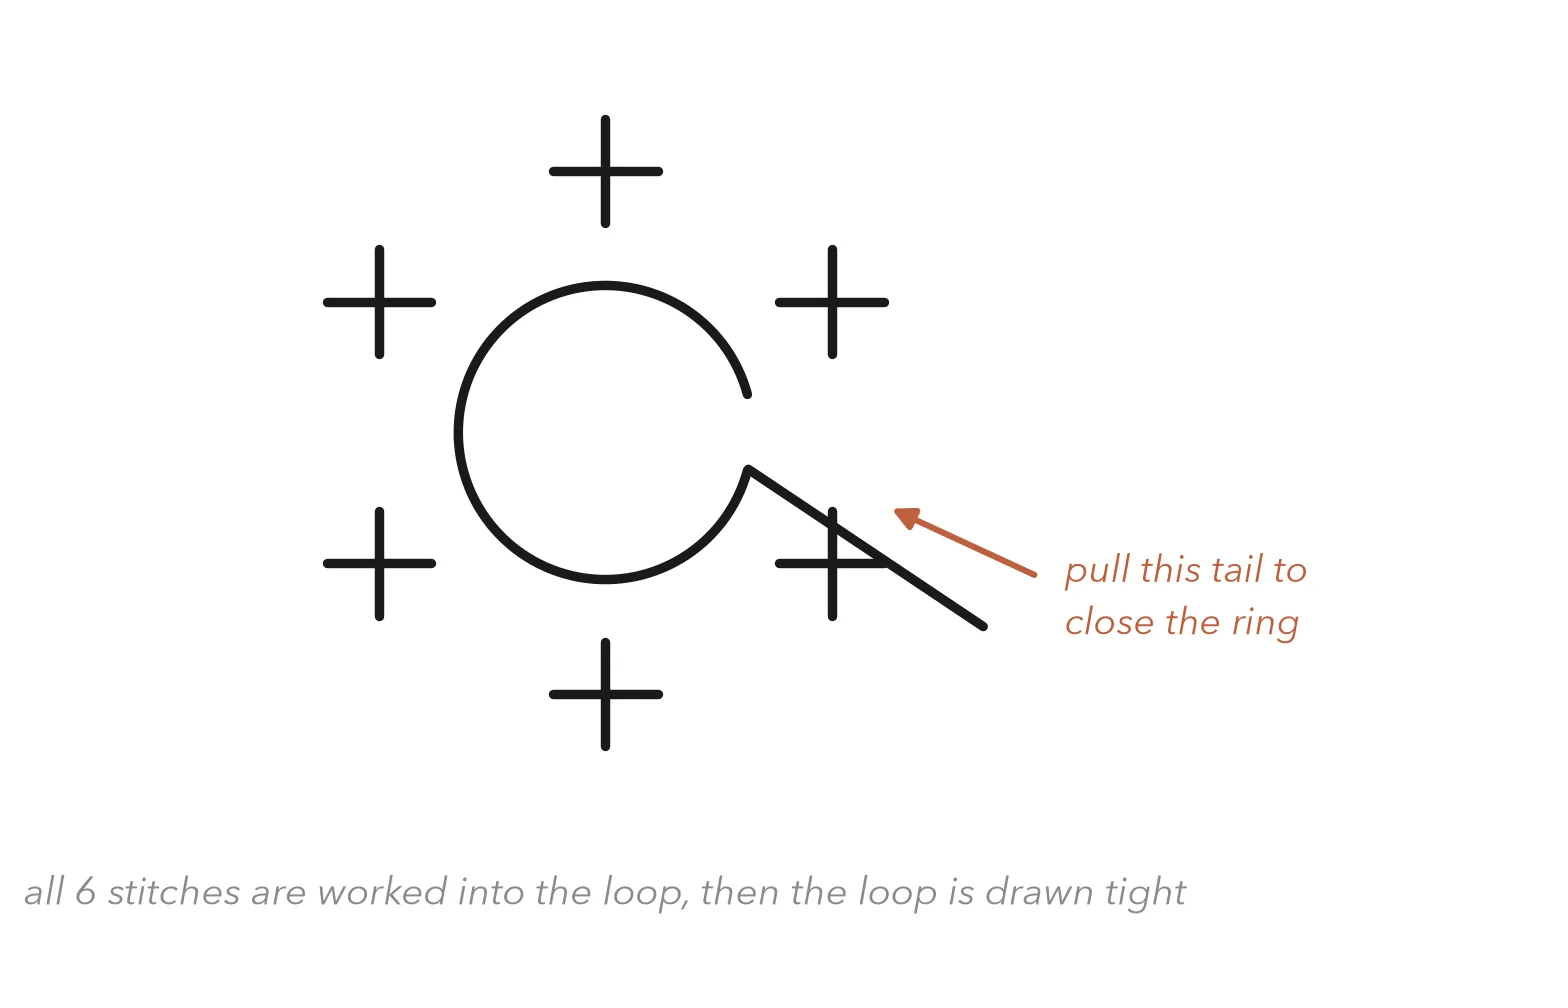
| MR | magic ring |
| st(s) | stitch(es) |
| rnd | round |
| rep | repeat |
Special stitches
Invisible decrease (invdec)
An ordinary decrease leaves a small visible bump. The invisible decrease does not, and on a piece where every stitch is on display that difference is worth learning.
Insert your hook under the front loop only of the next stitch, then immediately under the front loop only of the stitch after it — two loops on the hook from the front loops alone. Yarn over and pull through both of those, then yarn over and pull through the two loops remaining on the hook.
Because you never picked up the back loops, the decrease sinks into the fabric rather than sitting on top of it. Use it for every decrease in this pattern.
Working in a spiral
As in the beanie, rounds are not joined — the work spirals. Mark the first stitch of every round and move the marker up as you go.
With amigurumi this matters more than it did on a hat. A hat that drifts half a round is invisible; a bear whose face has drifted round to the side of its head is not.
Instructions
Head
Worked in a spiral from the top. Mark the first stitch of every round.
Body
Worked from the top of the body downwards.
Arms — make 2
Legs — make 2
Ears — make 2
Muzzle
Worked in the contrast colour.
Stitch chart
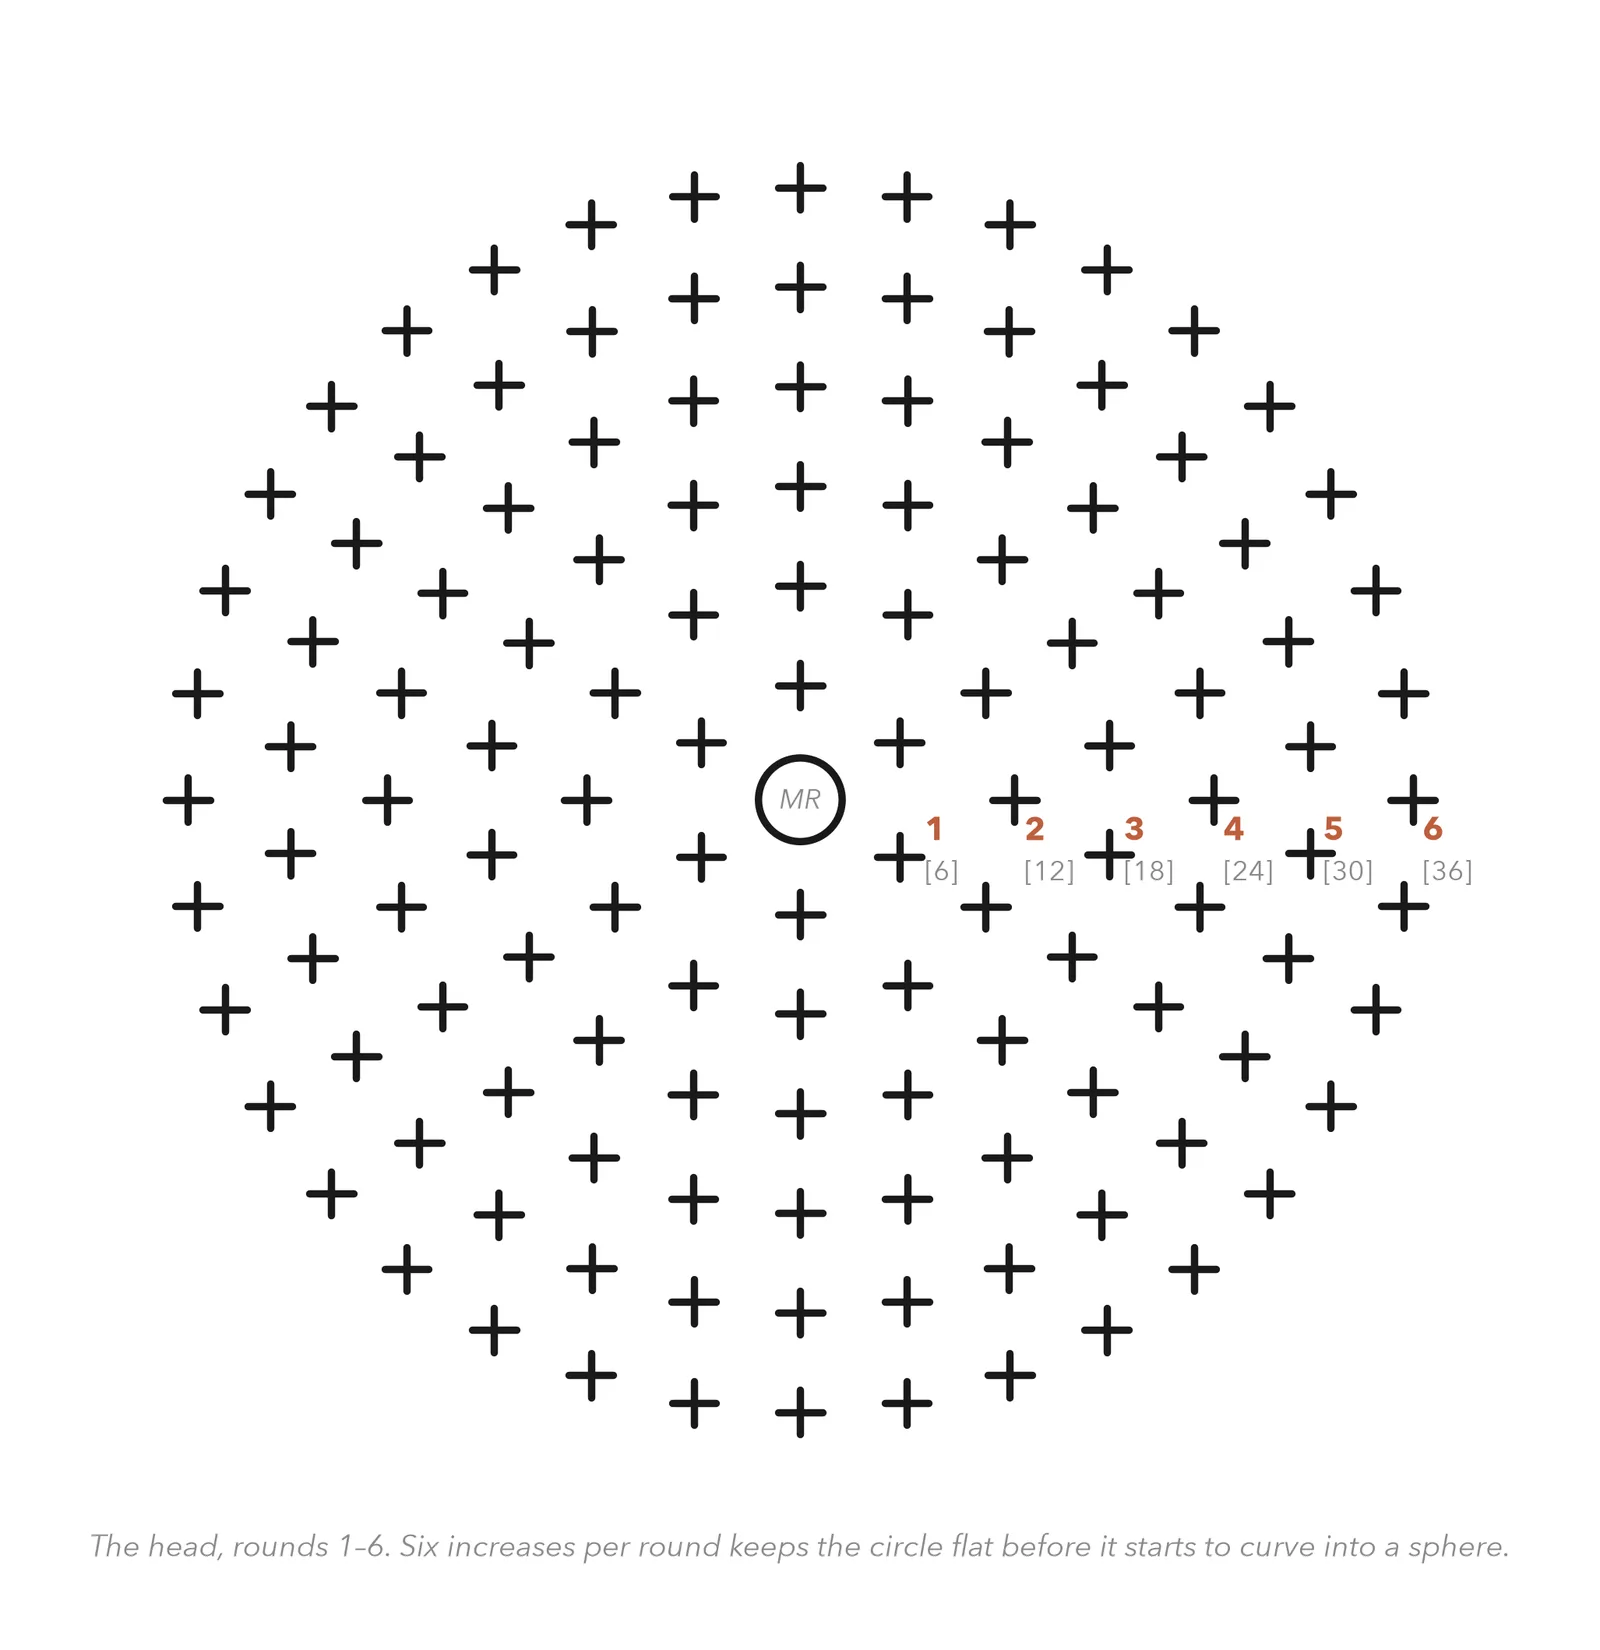
Every piece in this pattern is a variation on this one chart: start with six, increase by six per round until wide enough, work straight, then decrease by six per round. Once you can see that shape, you can design amigurumi of your own.
Finishing
Pin everything before you sew anything. Use pins to position the head, arms, legs, ears and muzzle, then stand the bear up and look at it from the front and the side. Adjust until it looks right. This step is what makes the difference between a bear and a collection of crocheted lumps, and it takes longer than the sewing.
Head to body: sit the head over the opening at the top of the body and sew all the way around with the head's long tail, taking one stitch through the head and one through the body alternately. Go around twice — a head that comes loose is the most common amigurumi failure.
Muzzle: sew centred on the face, over Rounds 10–13, just below and between the eyes.
Ears: flatten each and sew the flattened edge in a shallow curve on top of the head, about 8 stitches apart.
Arms and legs: sew the arms at the sides of the body about two rounds below the head seam, and the legs to the bottom front of the body so the bear can sit. Check the bear sits level before you fasten off the second leg.
Face: embroider a small triangular nose in black at the top of the muzzle, then a short vertical line below it and a shallow smile either side. Bring the needle out at the back of the head, where the knot will be hidden, and go in and out of the same hole to reposition rather than unpicking.
Weave in every remaining tail into the inside of the nearest piece.
If something has gone wrong
Your tension is too loose for amigurumi. Go down a hook size — 2.5 mm if you are already at 3.0 mm. There is no way to fix this after the fact, which is why the gauge check happens before the head is closed.
The spiral has drifted because the marker was not moved every round. Amigurumi is unforgiving about this. The good news is that a head can be rotated slightly when you sew it on, which hides a surprising amount.
Ordinary decreases rather than invisible ones. Reread the invisible decrease above — the whole trick is picking up only the front loops.
Either the body is understuffed, or the legs are attached too far back. Legs sewn to the bottom front of the body act as a tripod with the body; legs sewn underneath make the bear topple.
It is nearly always the eyes. Eyes set too far apart or too high read as vacant; slightly closer together and lower reads as friendly. Pin the muzzle on and try the eyes in two or three positions before committing — this is why the pattern has you place them while the head is still open.
Caring for your finished piece
Surface wash only: sponge gently with cool water and a little mild detergent, then let it air dry completely. Do not machine wash or submerge — the stuffing takes days to dry and can go mouldy inside. If the bear is destined for heavy use by a child, that is another good reason to embroider the eyes rather than fit safety eyes.
What's next
Pattern 10 of 12
Lace Shawl
Pattern 10 goes in the opposite direction entirely: from the tightest fabric in the collection to the most open. A lace shawl is mostly air, worked on a large hook with fine yarn, and it is the pattern where reading a chart stops being an optional extra and becomes the easiest way to work. It also introduces blocking as a transformation rather than a tidy-up — a lace shawl comes off the hook looking like a crumpled net and comes off the blocking mat looking like a shawl.