Pattern 4 of 12 · Beginner · To Wear
Twist & Shout
A chunky ear warmer, finished in an evening
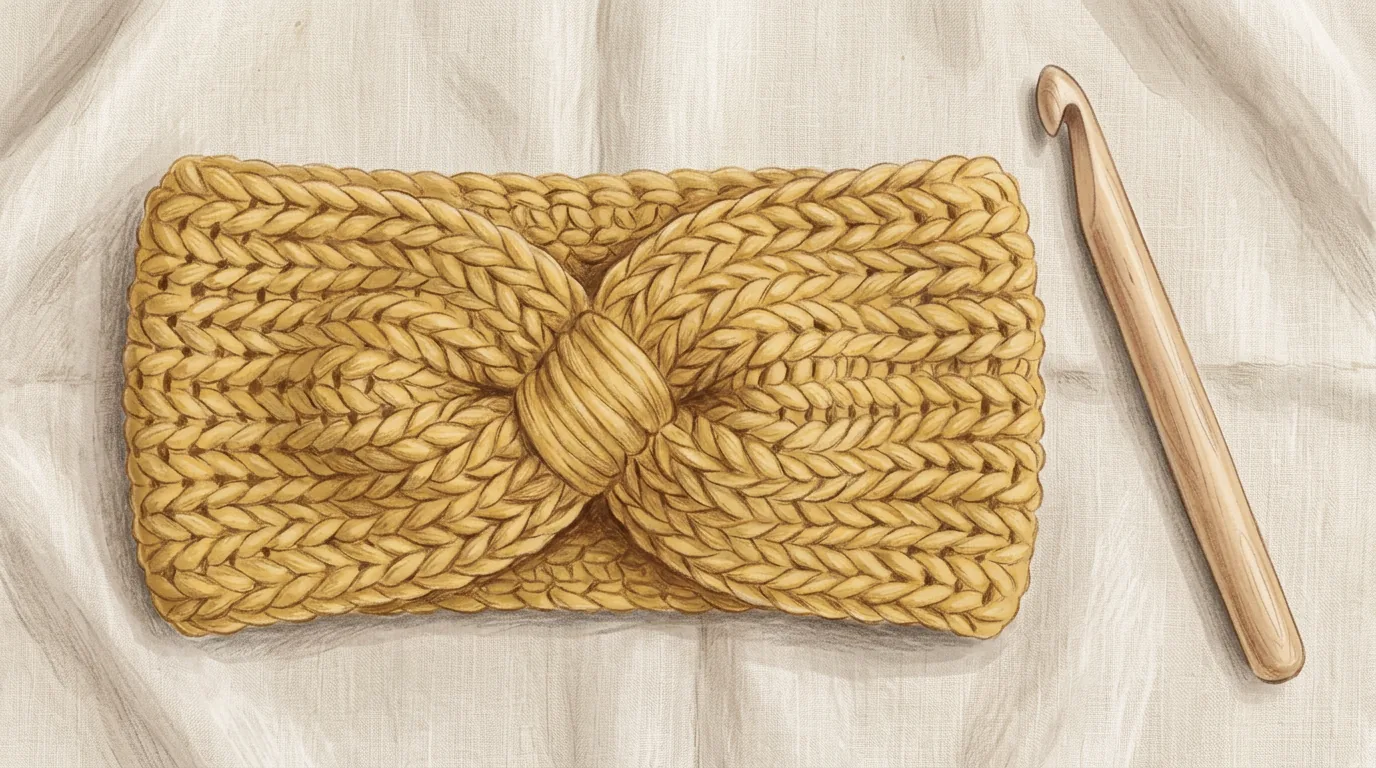
Design illustration. Colours and drape will vary with your yarn — this is a rendering of the design, not a photograph of a finished piece.
About this pattern
Bulky yarn, an 8 mm hook, and thirty short rows. This is the fastest thing in the collection and the first one with actual shape — because at the end you sew it into a loop and cinch the front into a twist.
Seaming is the real lesson here. Up to now everything has come off the hook finished. From here on, pieces get joined: the blanket in Pattern 5, the bear in Pattern 9, the sweater in Pattern 12. A whip stitch seam on chunky yarn is the friendliest possible place to learn it, because the stitches are big enough to see clearly.
What this pattern teaches you
- Seaming two edges together with whip stitch
- Working with bulky yarn and a large hook
- Making a gathered faux-twist detail
- Working to a measurement rather than a row count
Skills you'll own by the end
Before you start: Patterns 1–3. You need hdc and back loop only, both from earlier patterns — there is no new stitch here, only new construction.
Materials
| Yarn | Bulky weight (Category 5) wool, acrylic or blend. Roughly 60 m / 66 yd — one 100 g ball is plenty for two headbands. Something with a little wool in it holds the twist shape better than pure acrylic. |
| Hook | 8.0 mm (US L-11) |
| Notions | Tapestry needle with an eye large enough for bulky yarn, scissors, tape measure |
Gauge
8 hdc × 6 rows = 10 cm / 4 in in back-loop-only half double crochet
This one genuinely has to fit a head, so gauge matters more than it did for a coaster. The good news is that the ribbing stretches: if you are within a centimetre or two, it will still sit comfortably. Measure the band against the wearer before you seam it and you cannot really go wrong.
Choose your size
Two sizes. Work to the row count for your size, or better, work until the band measures the length below when relaxed.
| Size | Fits head | Rows | Band length |
|---|---|---|---|
| Child | 48–52 cm / 19–20½ in | 26 | 43 cm / 17 in |
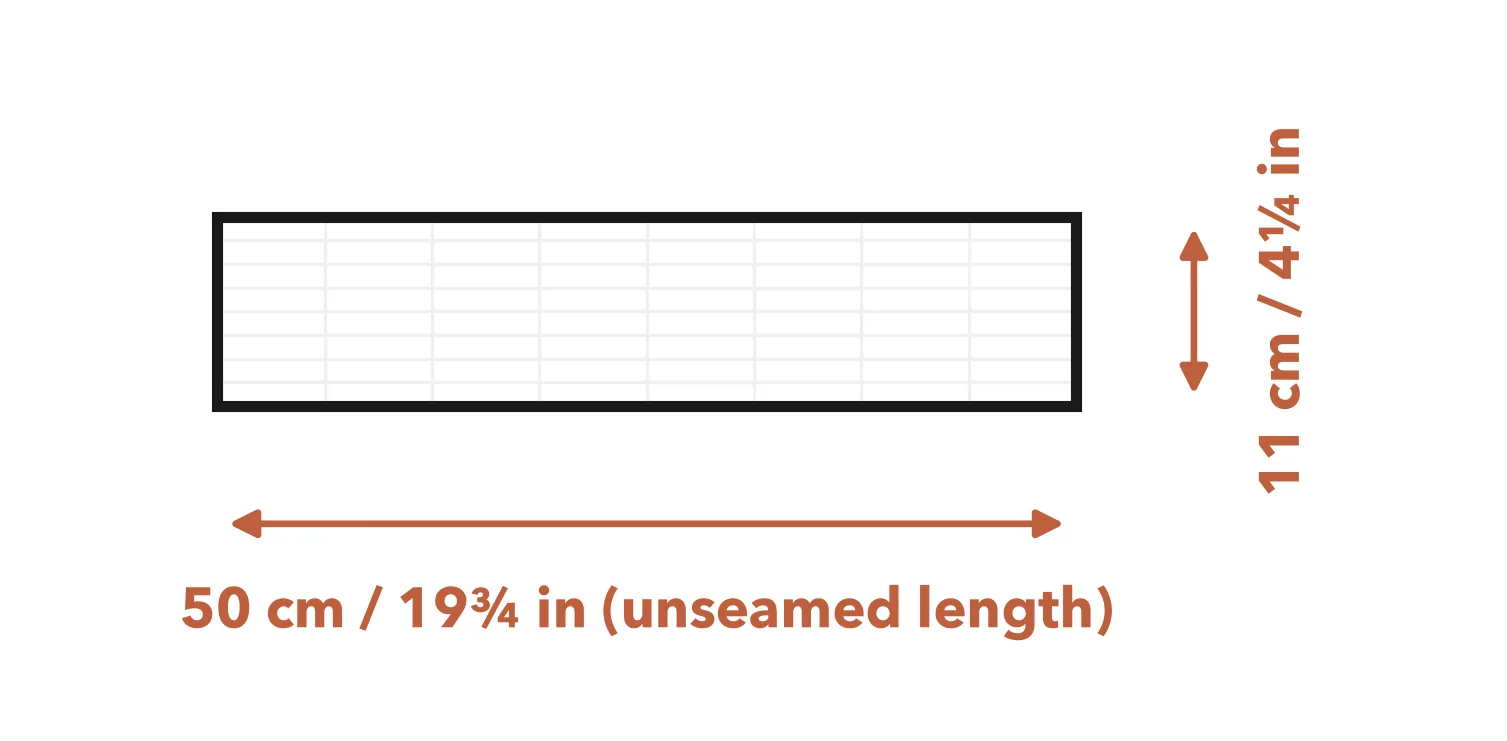
| Adult | 54–58 cm / 21¼–22¾ in | 30 | 50 cm / 19¾ in |
The band is worked shorter than the head it fits, because the ribbing stretches. Do not add length to be safe — a loose ear warmer slides off.
Finished measurements
Adult: 50 cm around × 11 cm wide (19¾ in × 4¼ in), relaxed
Abbreviations
This pattern uses US crochet terms.
| ch | chain |
| hdc | half double crochet |
| BLO | back loop only |
| st(s) | stitch(es) |
| rep | repeat |
| RS | right side |
Special stitches
Whip stitch seam
The simplest way to join two crocheted edges, and strong enough for anything in this collection.
Hold the two edges together with the right sides facing each other, so the seam will end up inside. Thread a long tail onto your tapestry needle. Pass the needle through the outermost loop of both edges at once, front to back, pull through, then come back around the outside and do it again in the next pair of stitches. You are wrapping the yarn around both edges, one stitch at a time.
Keep the tension the same as your crochet — pulled tight, a seam puckers and stops stretching, which on a headband means it will not go over anyone's head. Work one stitch per row end and you will not go wrong.
Instructions
The band
Worked flat as a long strip, in back loops only so it stretches around the head. Figures in brackets are for the adult size where the two differ.
The cinch band
A small separate strip that wraps around the gathered front of the headband to create the twist.
Stitch chart
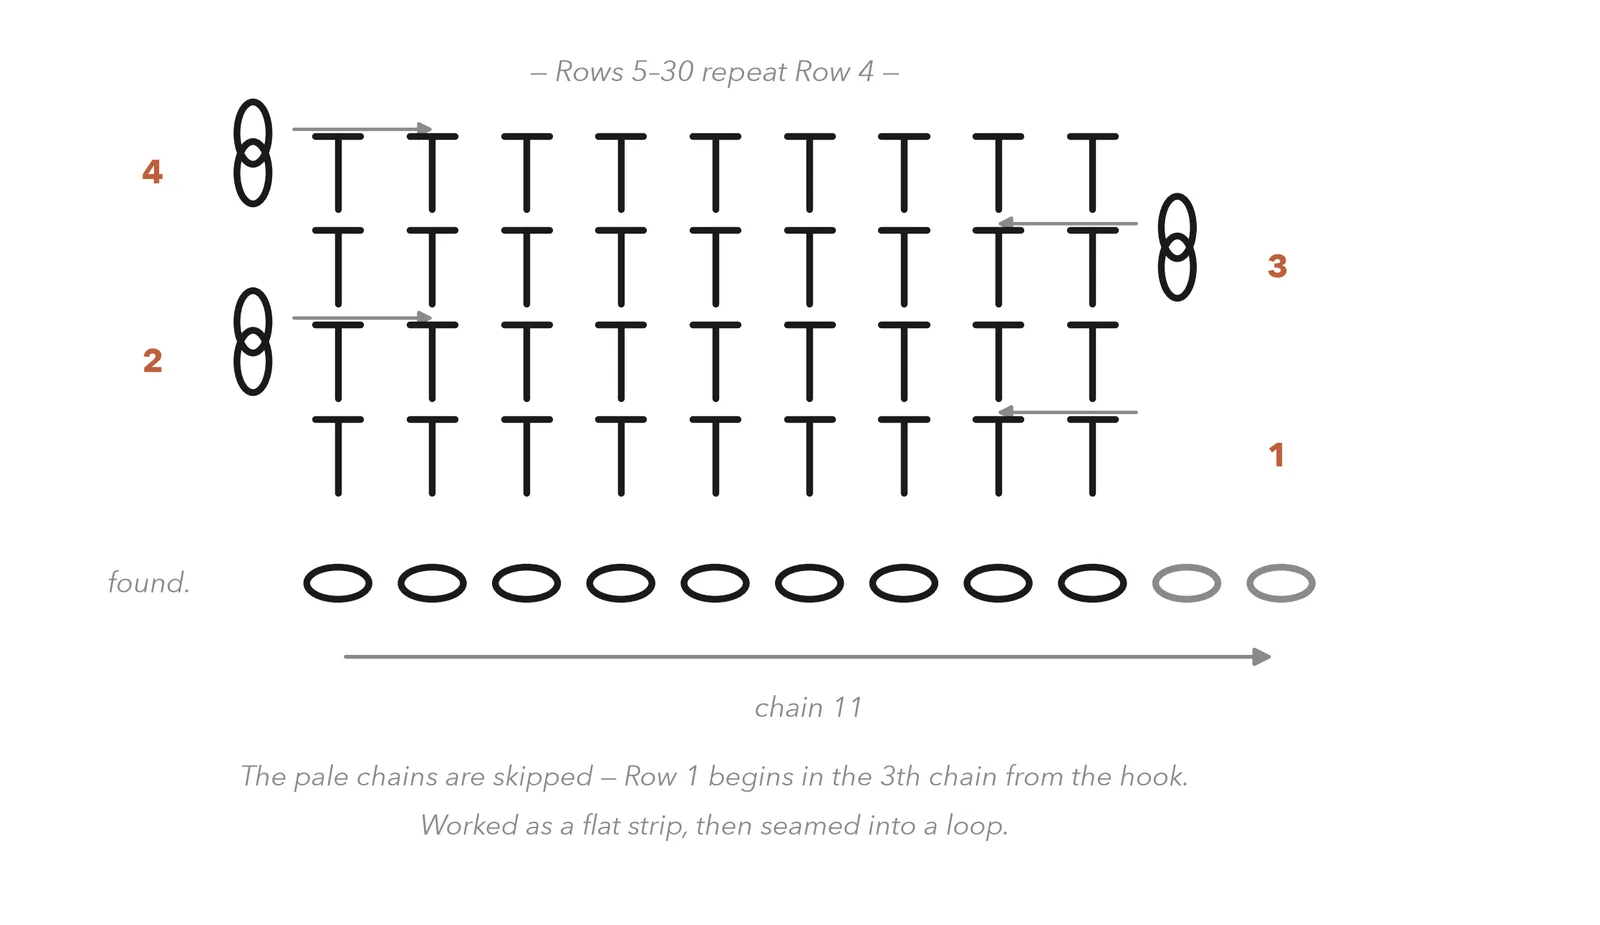
There is very little to chart here — that is rather the point of this pattern. The interesting part is what happens after the hook is put down, so pay more attention to the assembly diagram below.
Finishing
Seam the band. Fold the strip so the two short ends meet, right sides together. Using the long tail and your tapestry needle, whip stitch across the nine stitches. Fasten off and weave the tail into the seam allowance on the inside. Turn the loop right side out.
Gather the front. Lay the loop flat with the seam at what will be the back of the head. Pinch the opposite side — the front — together across its width, concertina-style, so the band gathers into a bundle about 4 cm across.
Wrap the cinch band. Take the small strip and wrap it snugly around the pinched section. Bring its two short ends together at the back of the bundle, so the join is hidden behind the headband. Whip stitch those ends to each other, then take a few stitches through into the main band underneath so the cinch cannot slide sideways.
Weave in all remaining tails and trim. Every tail should be worked into the inside of the band or into the seam — never the outside.
If something has gone wrong
The seam is sewn too tightly. Unpick it and redo it, letting each stitch sit at the same tension as your crochet. A seam should be invisible in behaviour as well as appearance — it needs to stretch with the fabric around it.
Either the right sides were not facing each other when you sewed, or you caught more than the outermost loop of each edge. Take the outermost loop only, and check which way round the piece is before you start.
Gather the front in tidy accordion folds rather than scrunching it. Three or four deliberate folds read as a twist; a random bunch reads as a mistake. Pin it before you sew and look at it in a mirror.
You have not anchored it. After joining its ends, take three or four stitches straight through the cinch band and into the gathered fabric underneath.
Row counts assume the stated gauge. Trust the tape measure over the row count — unpick the seam, remove rows until the band matches the sizing table, and re-seam.
Caring for your finished piece
Wool or blend: hand wash cool and dry flat, reshaping the twist while damp. Acrylic: machine wash cool, dry flat. Do not tumble dry — heat flattens bulky ribbing and the band will lose both its texture and its stretch.
What's next
Pattern 5 of 12
Granny Square Blanket
You have finished the beginner tier — four projects, four new skills, and everything from here builds on what you already have. Pattern 5 takes you off the straight line for the first time: working in rounds, from the centre outwards, to make the granny square. Thirty-six of them become a baby blanket, and you will find you can make one square in the time it takes to watch half a film.