Pattern 3 of 12 · Beginner · To Wear
The Long Way Round
A ribbed scarf worked end to end
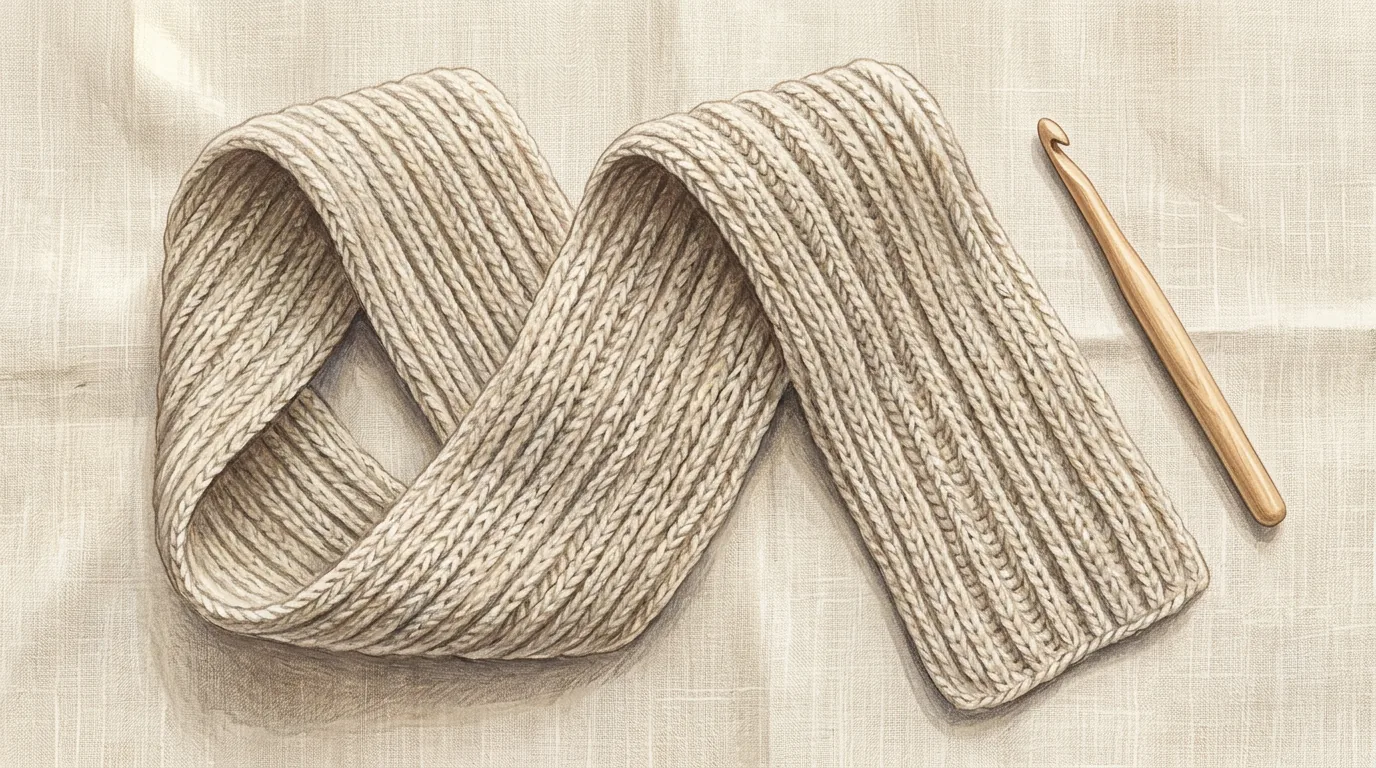
Design illustration. Colours and drape will vary with your yarn — this is a rendering of the design, not a photograph of a finished piece.
About this pattern
This scarf is worked the long way — one enormous foundation chain along its whole length, then just eleven rows back and forth. It sounds backwards, and it is the reason the ribbing runs in unbroken lines from end to end.
The new trick is small and its effect is large. By working into only the back loop of each stitch instead of both, you leave the front loop sitting on the surface as a raised ridge. Do it every row and those ridges become ribbing: stretchier, softer, and far more interesting to look at than plain fabric.
What this pattern teaches you
- The double crochet (dc) — the tall, fast workhorse stitch
- Back loop only (BLO) and the ribbing it creates
- Working long rows without losing your place
- Managing a very long foundation chain
Skills you'll own by the end
Before you start: Patterns 1 and 2. You should be comfortable keeping a straight edge over a couple of dozen rows before taking on 192 stitches.
Materials
| Yarn | Worsted weight (Category 4) acrylic, wool, or a wool blend. Roughly 380 m / 415 yd — usually two 100 g balls. Wool blends give the warmest result; acrylic is cheaper and machine washable, which matters for a scarf. |
| Hook | 5.5 mm (US I-9) |
| Notions | Tapestry needle, scissors, tape measure |
| Strongly recommended | Eight or more stitch markers — see the note on the foundation chain below |
Gauge
12 dc × 7 rows = 10 cm / 4 in in back-loop-only double crochet
Gauge decides how long your scarf turns out, and a small difference multiplied across 192 stitches becomes a large one. If your swatch runs tight you will finish with a scarf closer to 140 cm than 160 cm — still perfectly wearable, but worth knowing before you buy yarn.
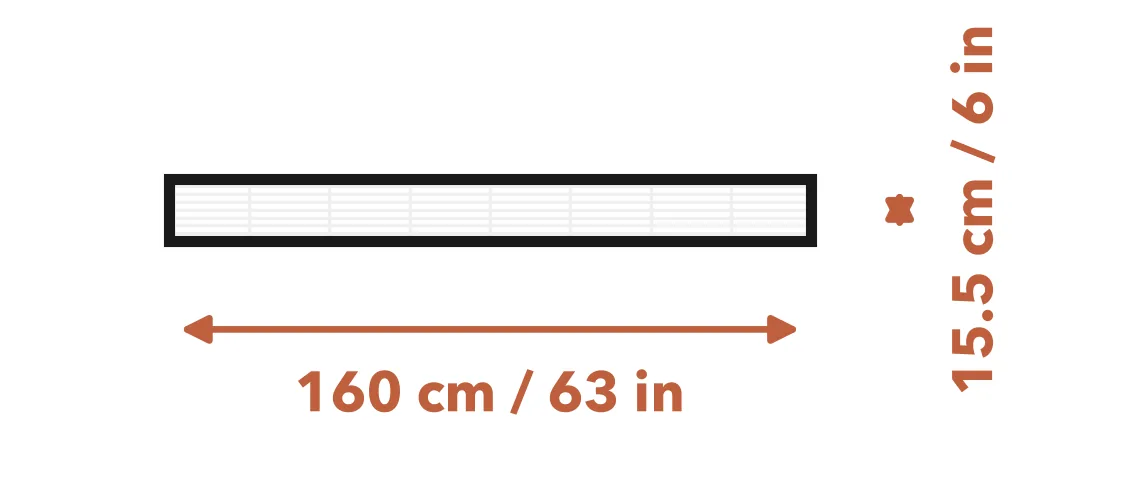
Finished measurements
160 cm × 15.5 cm (63 in × 6 in)
Abbreviations
This pattern uses US crochet terms.
| ch | chain |
| dc | double crochet |
| BLO | back loop only |
| st(s) | stitch(es) |
| rep | repeat |
| yo | yarn over |
Special stitches
Double crochet (dc)
One movement longer than the half double, and it produces a stitch roughly twice the height of a single crochet.
Yarn over. Insert the hook into the stitch and pull up a loop — three loops on the hook. Yarn over and pull through two — two loops left. Yarn over and pull through the last two.
The difference from a half double is that final step being split into two. Pulling through two, then two, is what gives the stitch its long clean post.
Back loop only (BLO)
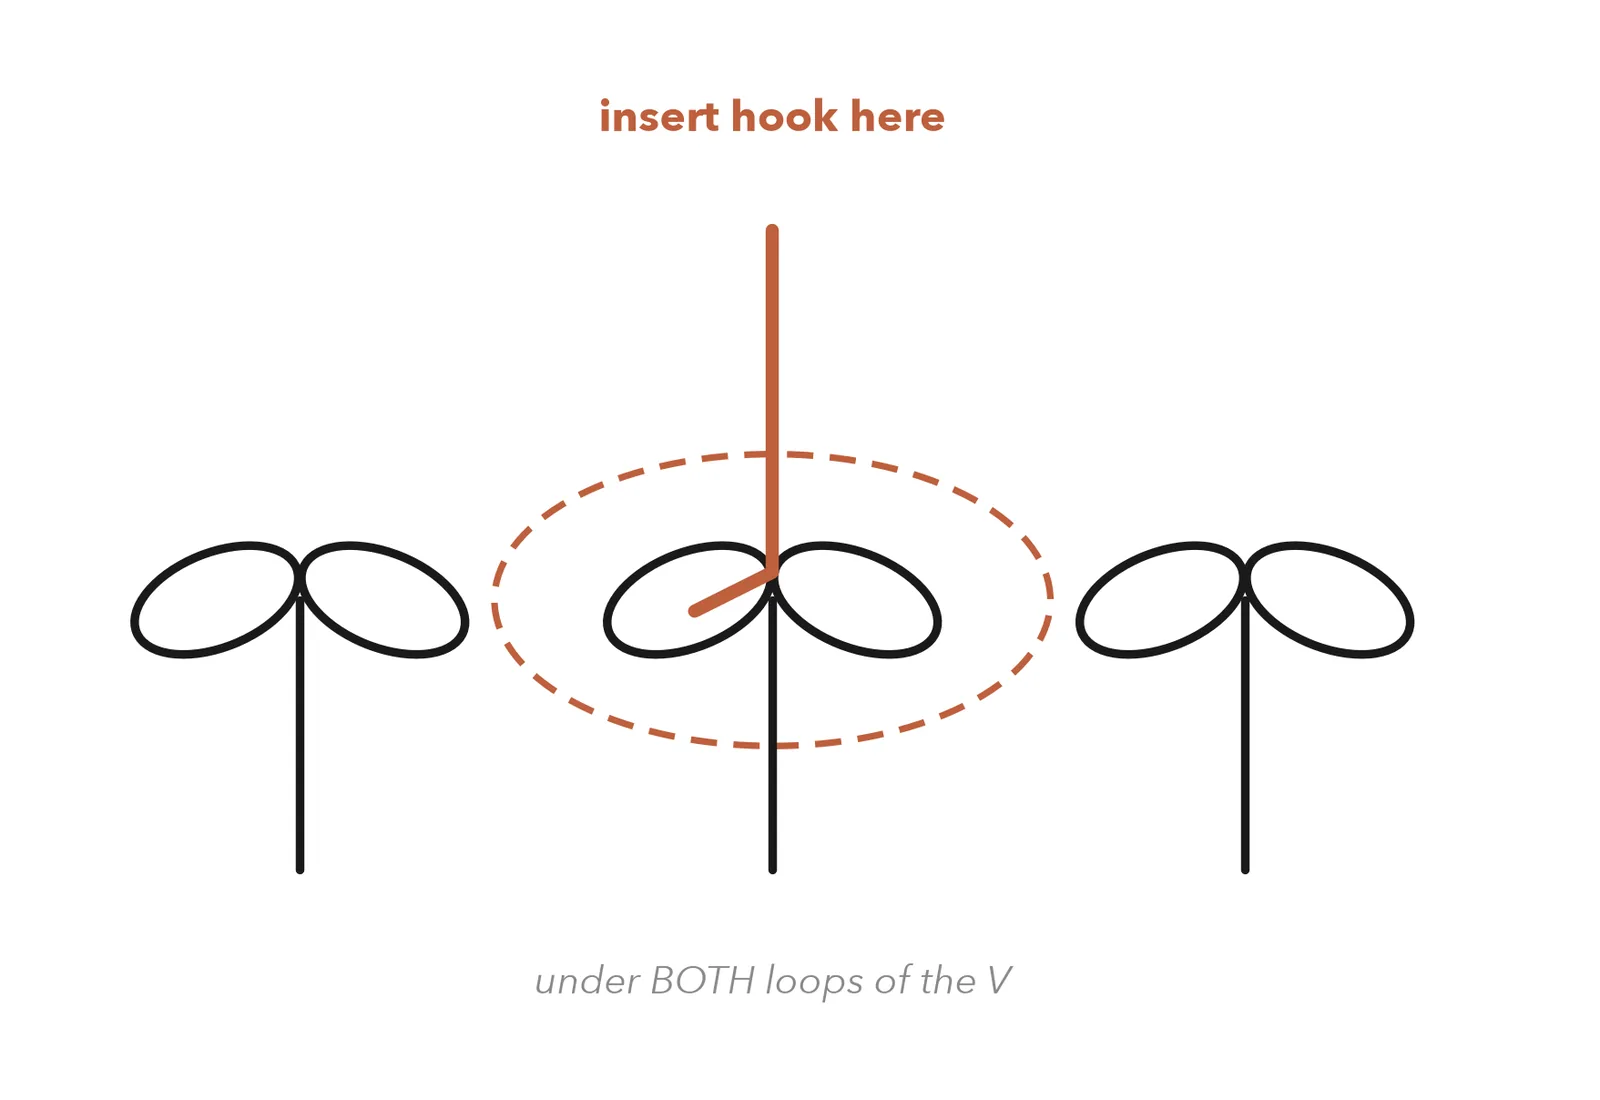
Look at the top of any stitch and you will see the V of two loops you have been working under all along. The loop further from you — on the far side of the V — is the back loop.
Working BLO simply means inserting your hook under that one strand instead of both. The front loop is left free, and it stands up as a visible horizontal ridge on the surface. Eleven rows of that gives you eleven ridges running the length of the scarf.
It also makes the fabric stretchier, because fewer strands are locking each stitch in place. That is exactly what you want in something worn around a neck.
Instructions
The scarf
Worked flat along its length. Rows 2–11 are worked in back loops only; Row 1 is worked into the foundation chain in the ordinary way.
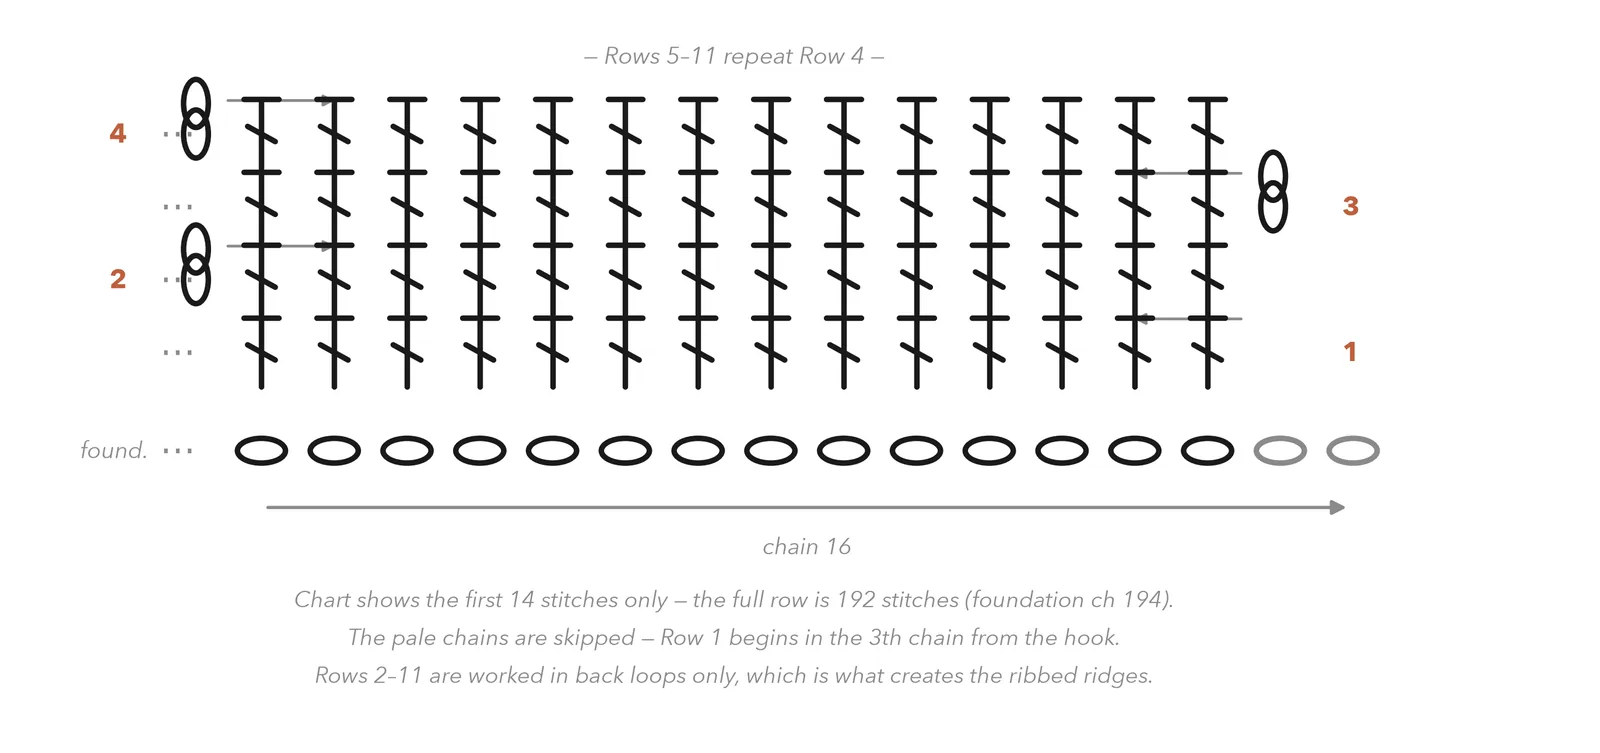
Stitch chart
A chart for a 192-stitch row would be unreadable at this size, so this one shows the working edge and tells you the rest. That is normal practice in published patterns: charts show the repeat, not every stitch.
Finishing
Fasten off and weave in both tails along the short ends, following the direction of the ridges so the tail disappears into one.
Blocking makes a real difference to this one. Dampen the scarf, lay it flat, and gently ease it to the finished measurements — do not stretch the ribbing flat, or you will lose the texture you just spent five hours making. Let it dry fully before moving it.
If you would like fringe, cut lengths of yarn about 30 cm long, fold each in half, and use your hook to pull the folded loop through a stitch at the end of the scarf, then pass the ends through the loop and pull snug. Six to eight per end looks balanced.
If something has gone wrong
It happens to everyone with a chain this long. If you catch it in the first few stitches, pull them out and re-lay the chain flat. If you are 50 stitches in, the twist is now permanent — and honestly, a single gentle twist in a scarf this long is nearly invisible once it is worn.
You chained fewer than 194, or worked two stitches into one chain somewhere. Simply work fewer stitches: a scarf of 185 stitches is 6 cm shorter and nobody will ever know. Note the count you actually have and use it for the rest.
The opposite — you either over-chained or skipped a chain. Leave the extras, fasten them off at the end, and trim. Again, this changes nothing about the finished scarf.
You are probably working under both loops out of habit. The ridge only appears when the front loop is left free. Check the right side of the work after two rows — the ridges should be unmistakable.
Your stitch count is drifting up at one end and down at the other. Measure the width at both ends: if they differ, you have gained or lost stitches. It will still wear fine, but measure each row's width from here rather than counting.
Caring for your finished piece
Wool or wool blend: hand wash cool, press the water out with a towel rather than wringing, and dry flat. Acrylic: machine wash cool, dry flat — do not tumble dry, which flattens acrylic ribbing permanently. Either way, dry flat rather than hanging, or the scarf will stretch under its own weight.
What's next
Pattern 4 of 12
Chunky Ear Warmer
Pattern 4 is the fastest project in the collection — bulky yarn, a big hook, and finished in an evening. It also teaches you to sew two pieces of crochet together, which is the skill that turns flat rectangles into things with shape. Everything from Pattern 9 onward depends on it.