Pattern 1 of 12 · Beginner · Home
First Loops
A classic coaster, and your first four skills
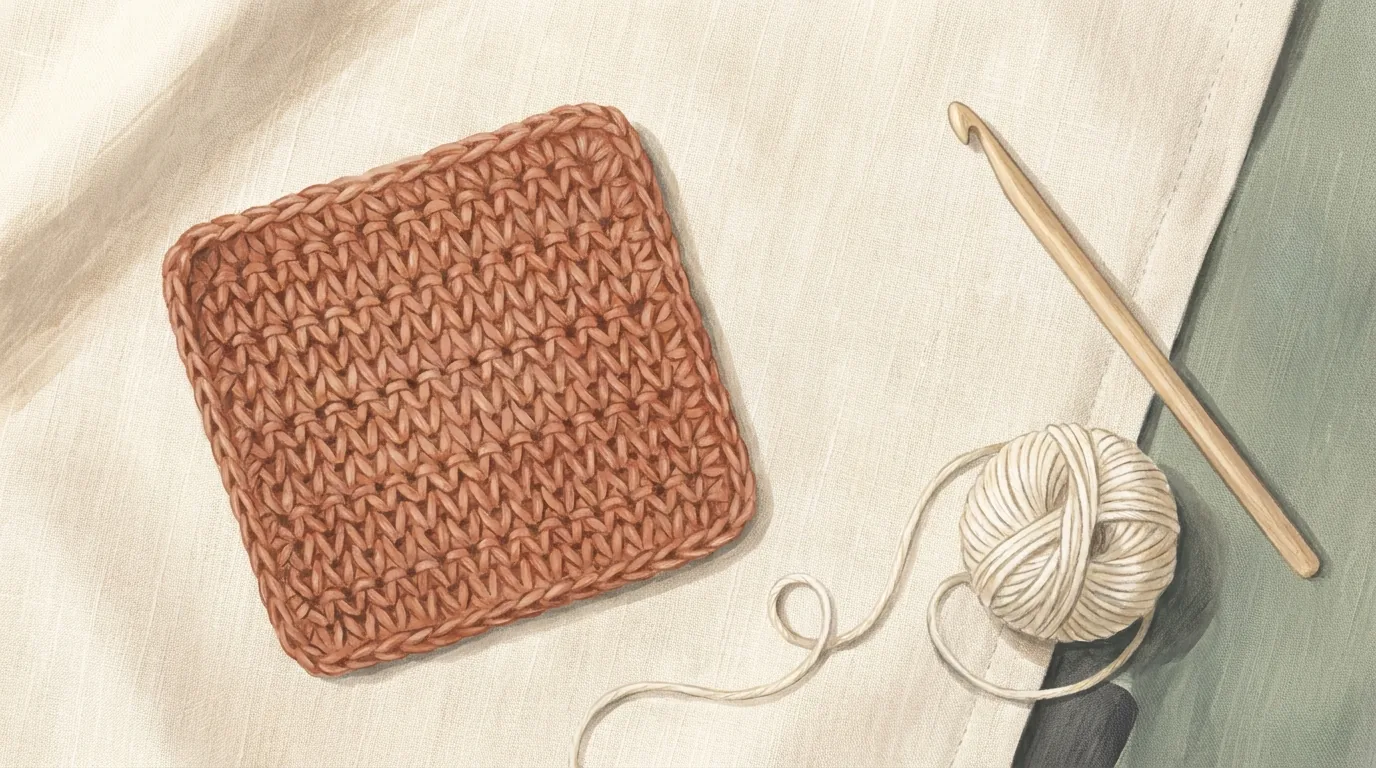
Design illustration. Colours and drape will vary with your yarn — this is a rendering of the design, not a photograph of a finished piece.
About this pattern
This is where it starts. In the next half hour you will learn the four things that every crochet project in the world is built from — a slip knot, a chain, a single crochet, and a tidy finish — and you will end up holding something you can genuinely put a mug on tonight.
A coaster is the right first project for an honest reason: it is small enough to finish before you get frustrated, flat enough that mistakes are easy to see, and forgiving enough that a slightly wobbly edge still works perfectly as a coaster. Nothing here is decorative difficulty. Every row is the same stitch, repeated, until you stop thinking about it — which is exactly the point.
What this pattern teaches you
- Making a slip knot — the loop that starts every project
- The chain stitch (ch) — the foundation everything is built on
- The single crochet (sc) — the shortest, sturdiest basic stitch
- Turning chains — how to step up from one row to the next
- Fastening off and weaving in ends so your work does not unravel
Skills you'll own by the end
Before you start: None whatsoever. This is Pattern 1 — you are in exactly the right place.
Materials
| Yarn | Worsted weight (Category 4) 100% cotton. Roughly 18 m / 20 yd per coaster — a single 50 g ball makes about four. Cotton is specified for a reason: it absorbs condensation, it does not melt under a hot mug, and it shows your stitches clearly while you are learning. |
| Hook | 5.0 mm (US H-8) |
| Notions | Tapestry needle (blunt, large eye) for weaving in ends; scissors |
| Optional | A stitch marker, or a scrap of contrasting yarn, to mark the last stitch of each row while you are still finding it |
Gauge
14 sc × 16 rows = 10 cm / 4 in in single crochet
For a coaster, gauge is genuinely relaxed — if yours runs a little tight or loose you will get a slightly smaller or larger square and it will still do its job. Check it anyway, because this is the habit that will save you on Pattern 12, where a wrong gauge means a sweater that does not fit.
Finished measurements
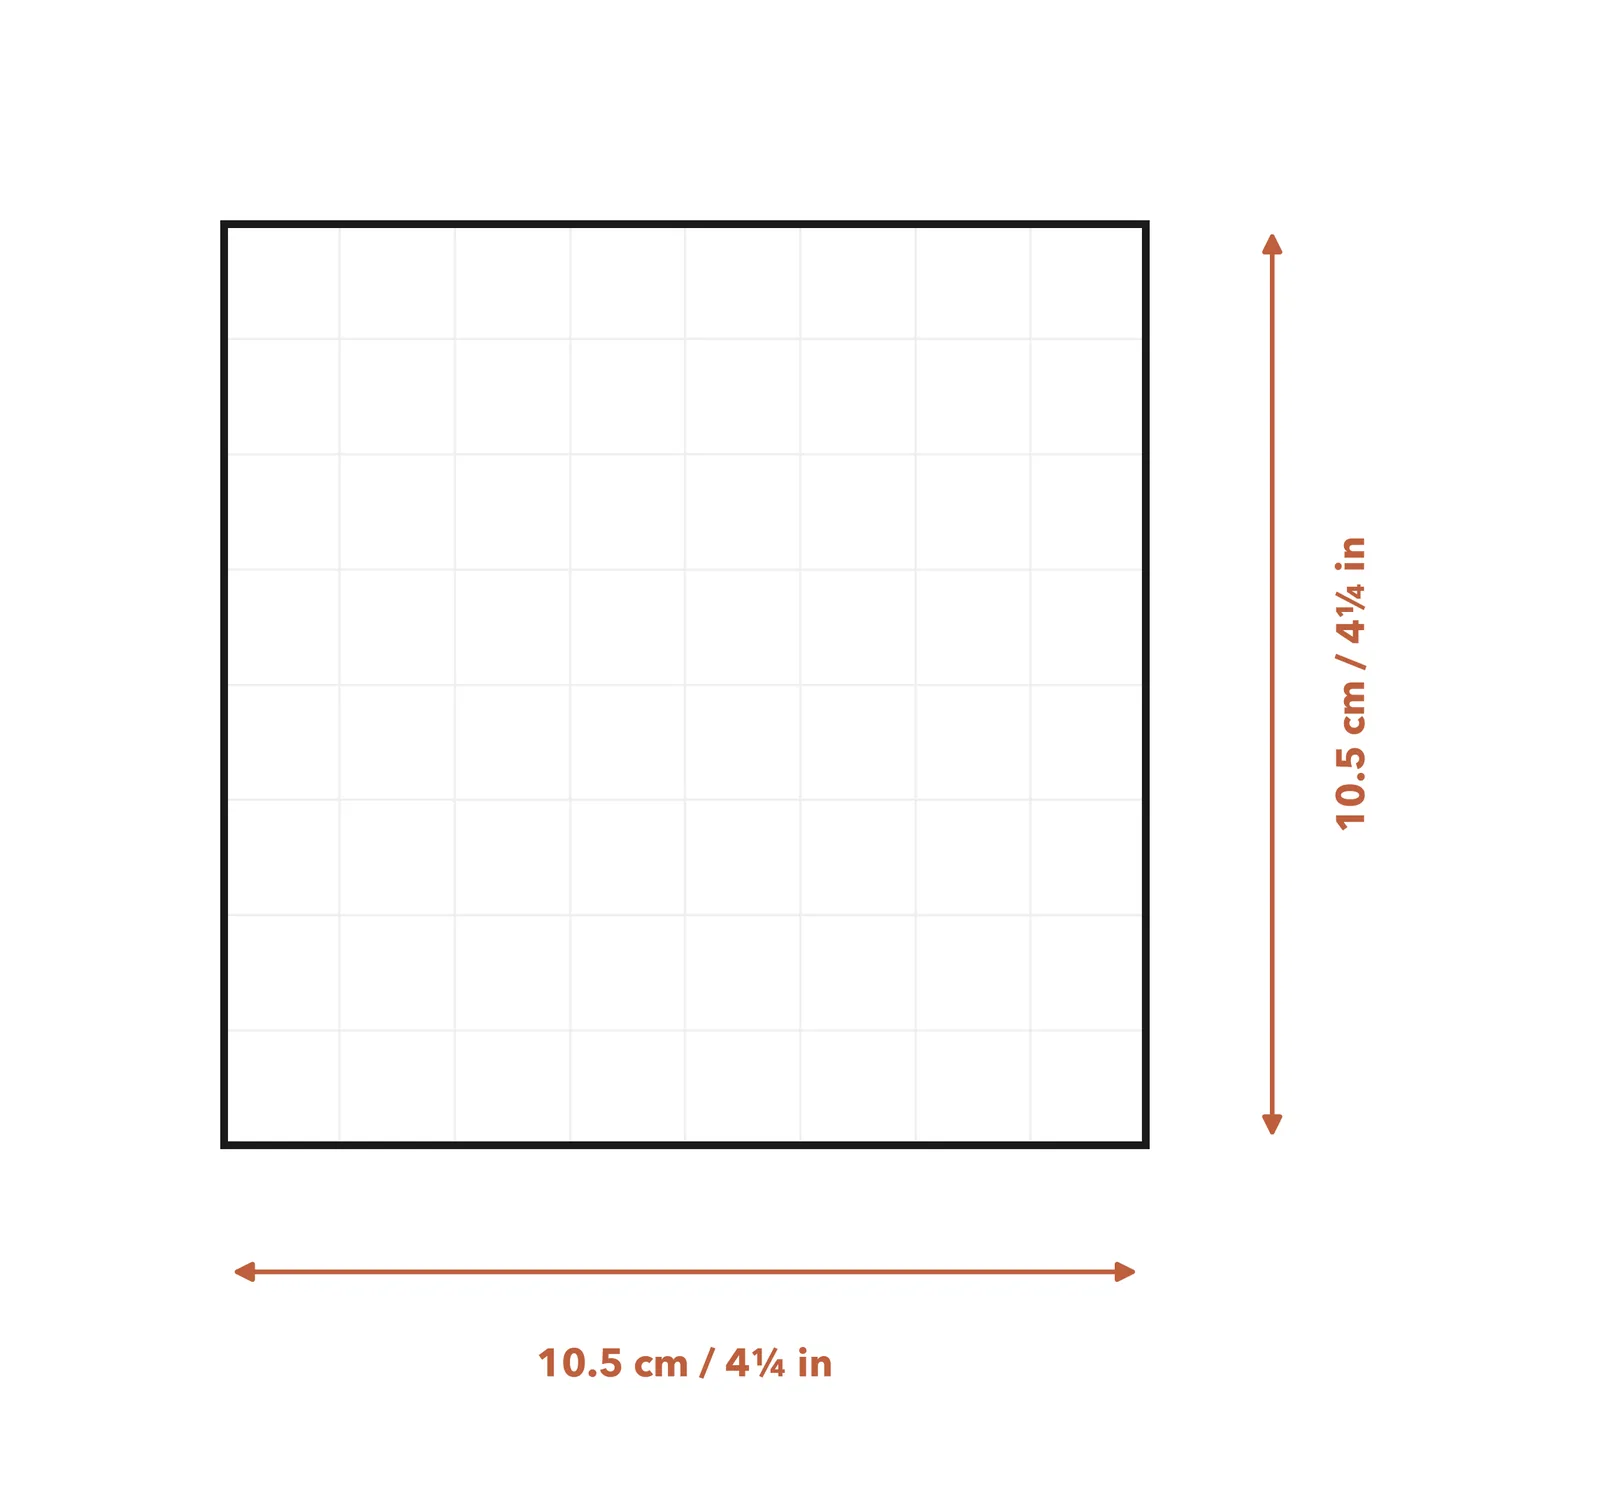
10.5 cm × 10.5 cm (4¼ in × 4¼ in), unblocked
Abbreviations
This pattern uses US crochet terms.
| ch | chain |
| sc | single crochet |
| st(s) | stitch(es) |
| rep | repeat |
| yo | yarn over |
Your first stitch ever
Holding the hook
There are two grips, and neither one is more correct than the other. In the pencil grip you hold the hook the way you hold a pen, resting on your middle finger. In the knife grip you hold it over the top, the way you hold a knife to cut bread. Try both for a minute each and keep whichever stops aching first.
The flat section partway down the hook is the thumb rest. Your thumb belongs there. If your hand is cramping, you are gripping far harder than the job needs — the yarn is not going anywhere.
Holding the yarn
Your non-hook hand does the quiet half of the work: it feeds yarn and keeps it under gentle, even pressure. A common way is to run the working yarn over your index finger, under the middle two, and over the little finger — but any arrangement that lets the yarn slide steadily is fine.
The word to hold onto is even, not tight. Tension that is consistent will look good even if it is loose. Tension that changes every few stitches is what makes a beginner piece look like a beginner piece — and it settles down on its own within a project or two.
The slip knot
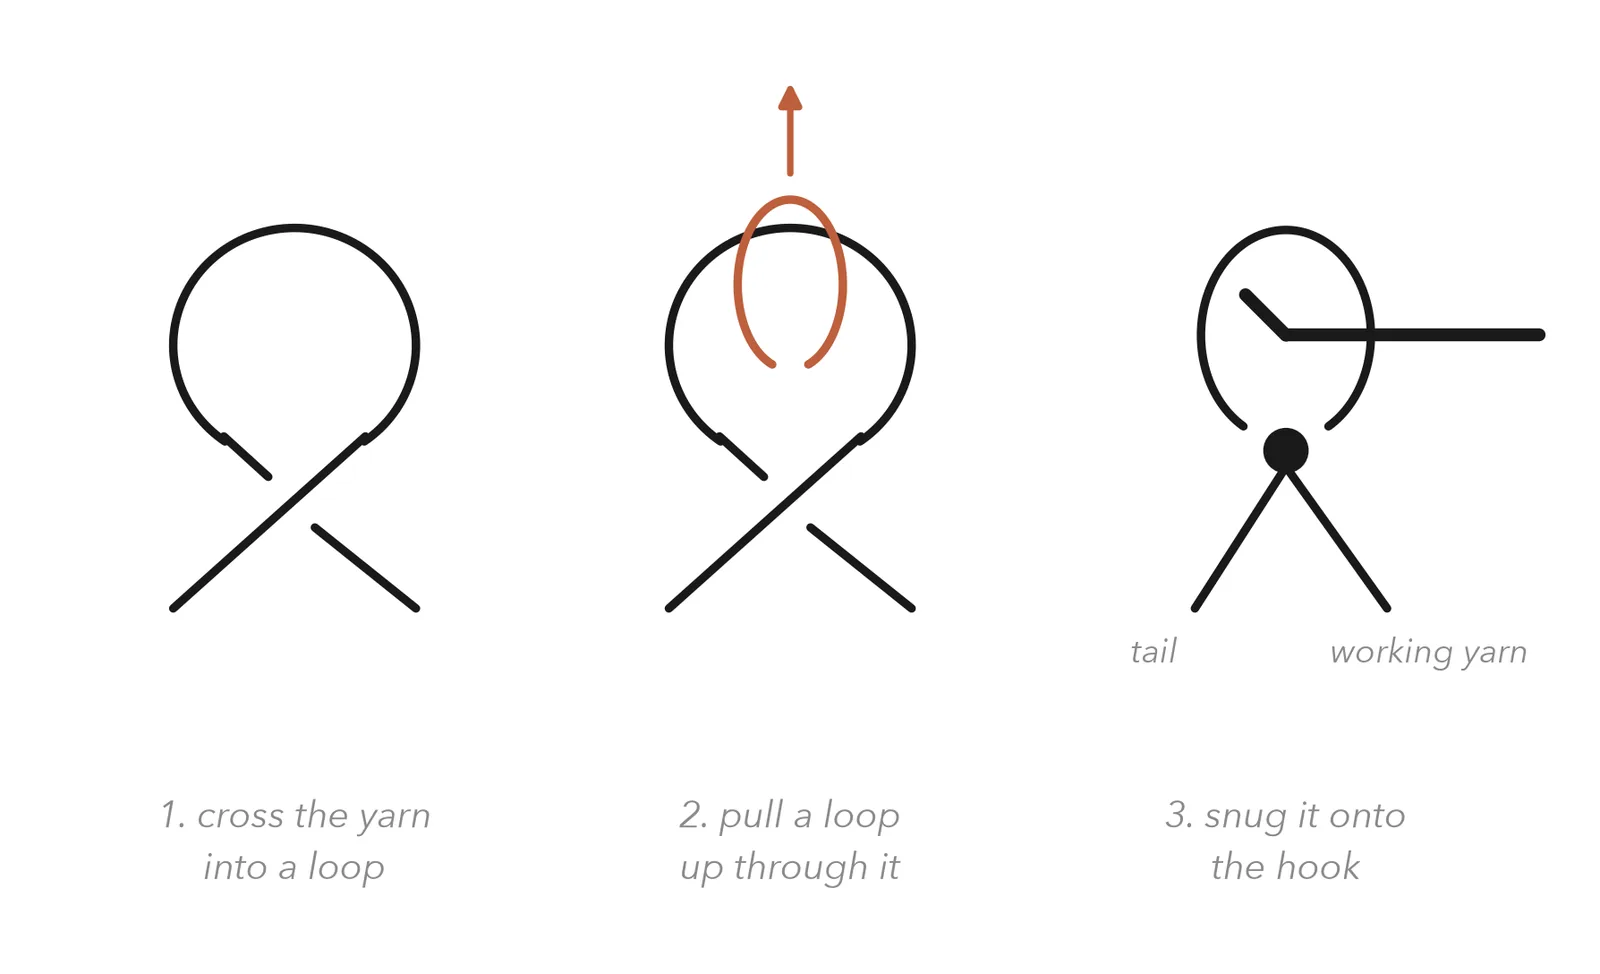
Every project begins with a slip knot: an adjustable loop that grips the hook without being a real knot. Leave a tail about 15 cm / 6 in long — you will need it later to weave in.
Cross the yarn over itself to make a loop, reach through that loop and pull the working yarn (the strand going to the ball) through it, then slide the new loop onto your hook and pull the tail gently to snug it up. It should hug the hook and still slide along it. If it is so tight the hook will not move, ease it off and start again.
The chain stitch (ch)
With the loop on your hook: wrap the working yarn over the hook from back to front — this is a yarn over — and pull it through the loop already on the hook. That is one chain. You now have one loop on the hook again, ready for the next.
Repeat until you have the number the pattern asks for. Aim for chains loose enough that your hook slides back into them easily. A too-tight foundation chain is the single most common reason a first project pulls in at the bottom edge.
Counting your chains
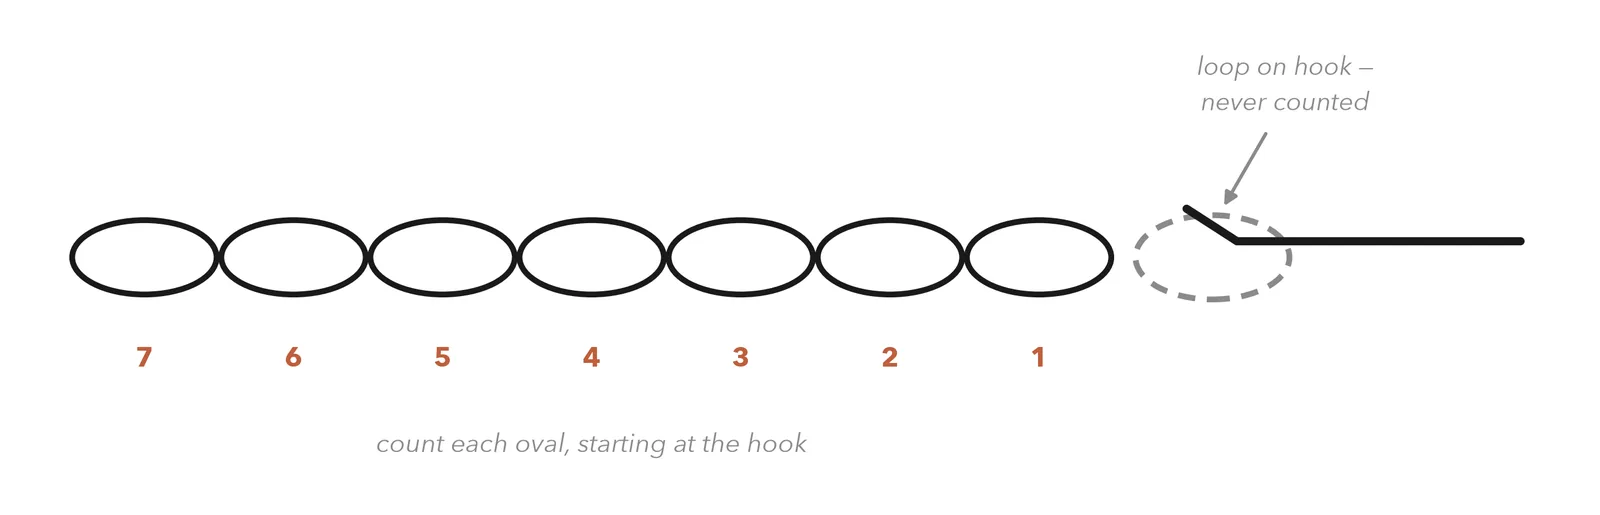
Look at the front of your chain and you will see a row of little V shapes, each one lying on its side like a flattened oval. Each oval is one chain.
The loop still on your hook is never counted. Neither is the slip knot at the far end. Count only the completed ovals between them. Getting this wrong by one is so common that it is worth counting twice before you go on.
The single crochet (sc)
This is the stitch you will use for the entire coaster, and it has four movements:
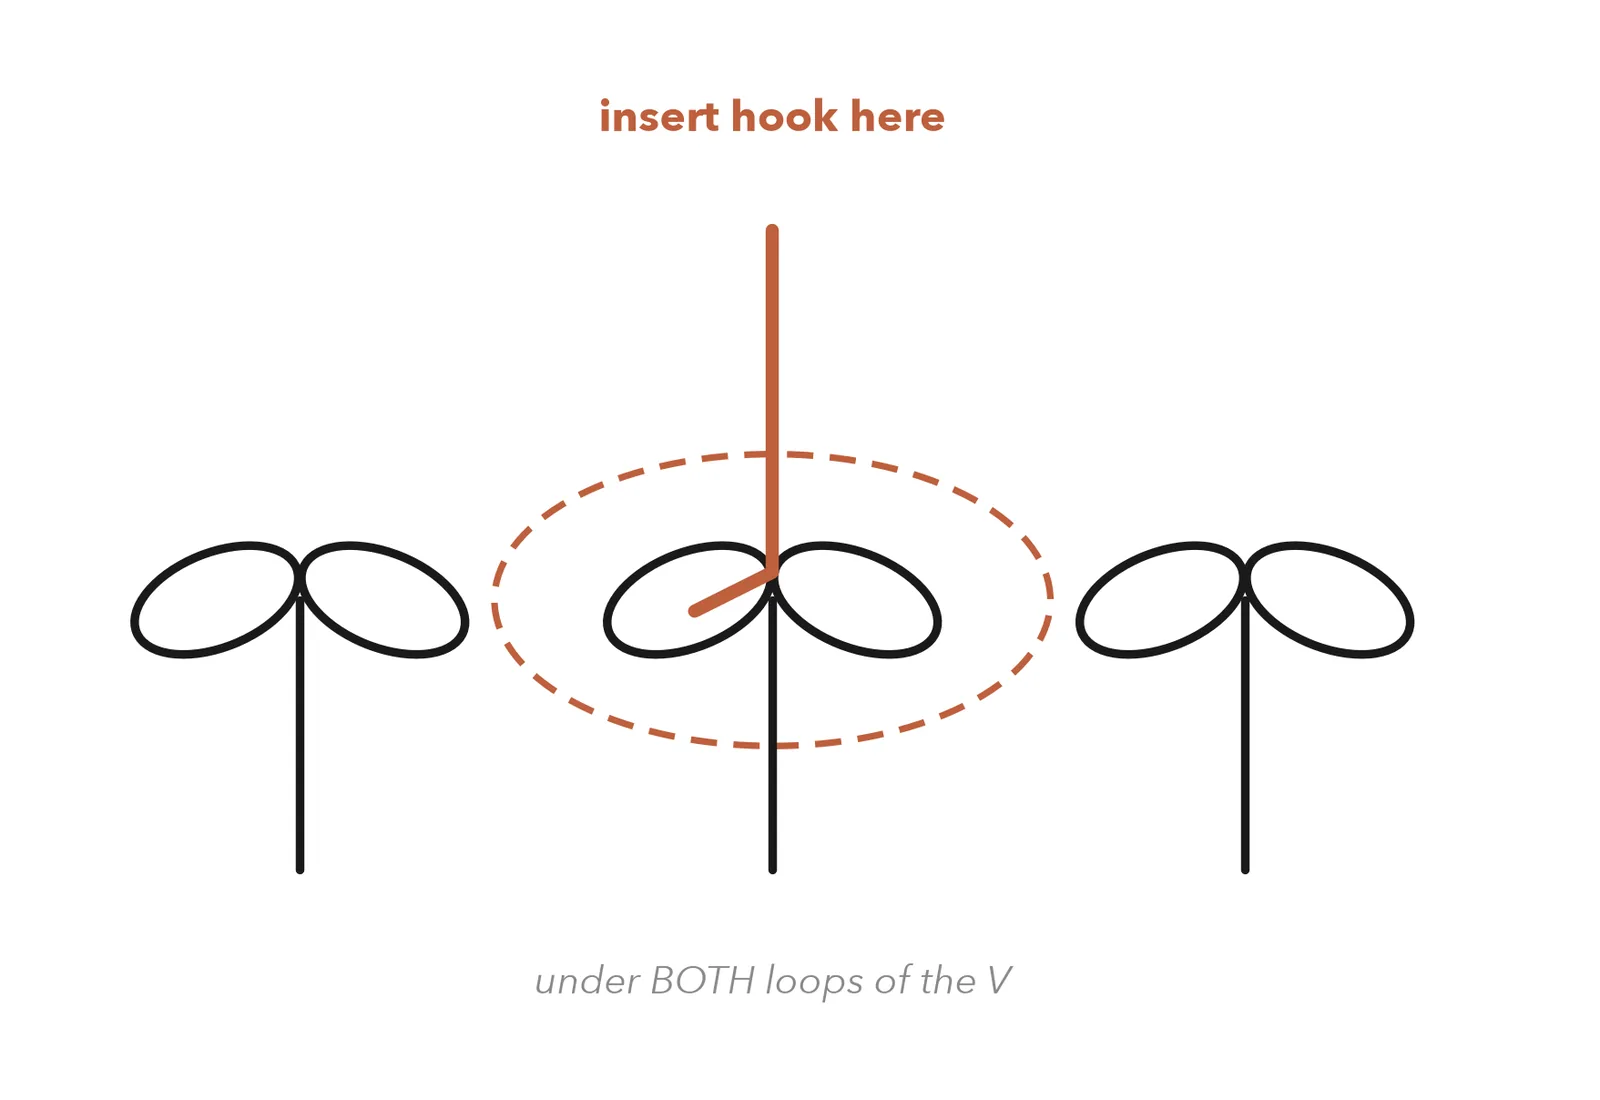
One. Insert the hook into the next stitch, front to back, going under both loops of the V on top of it. Two. Yarn over and pull that loop back through the stitch — you now have two loops on the hook. Three. Yarn over again. Four. Pull through both loops at once. One loop remains, and you have made one single crochet.
Say it out loud a few times while you do it — in, pull through, yarn over, through both — and by the end of the first row your hands will have it.
Turning chains, and why they exist
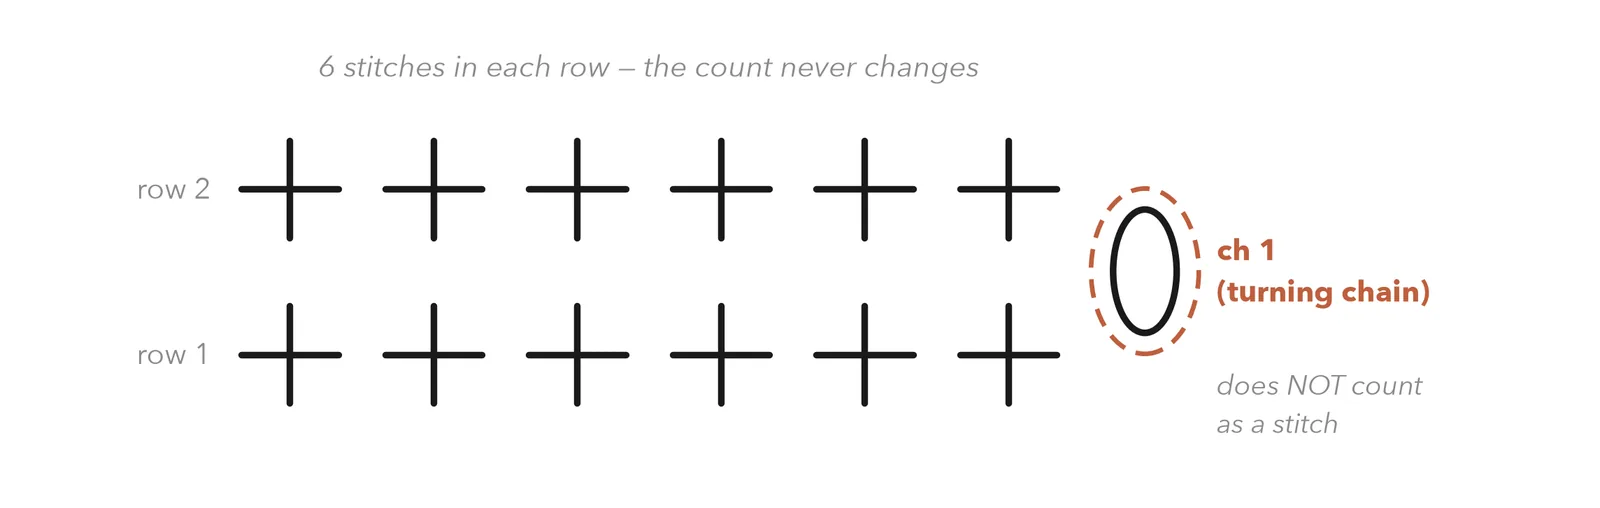
When you reach the end of a row you need to get your hook up to the height of the next row before you turn around. That is the job of the turning chain — it is a small step up, not a stitch.
Single crochet is a short stitch, so it only needs one chain to reach row height. In this pattern the ch 1 at the start of each row does not count as a stitch, and you never work into it. Chain one, turn your work over like a page in a book, and put your first single crochet into the very first stitch of the row below.
Taller stitches need taller steps, which is why the dishcloth in Pattern 2 asks for two chains. Same idea, longer legs.
Instructions
The coaster
Worked flat, in rows, turning at the end of each row. The stitch count in brackets is what you should have at the end of that row — check it every single time.
Stitch chart
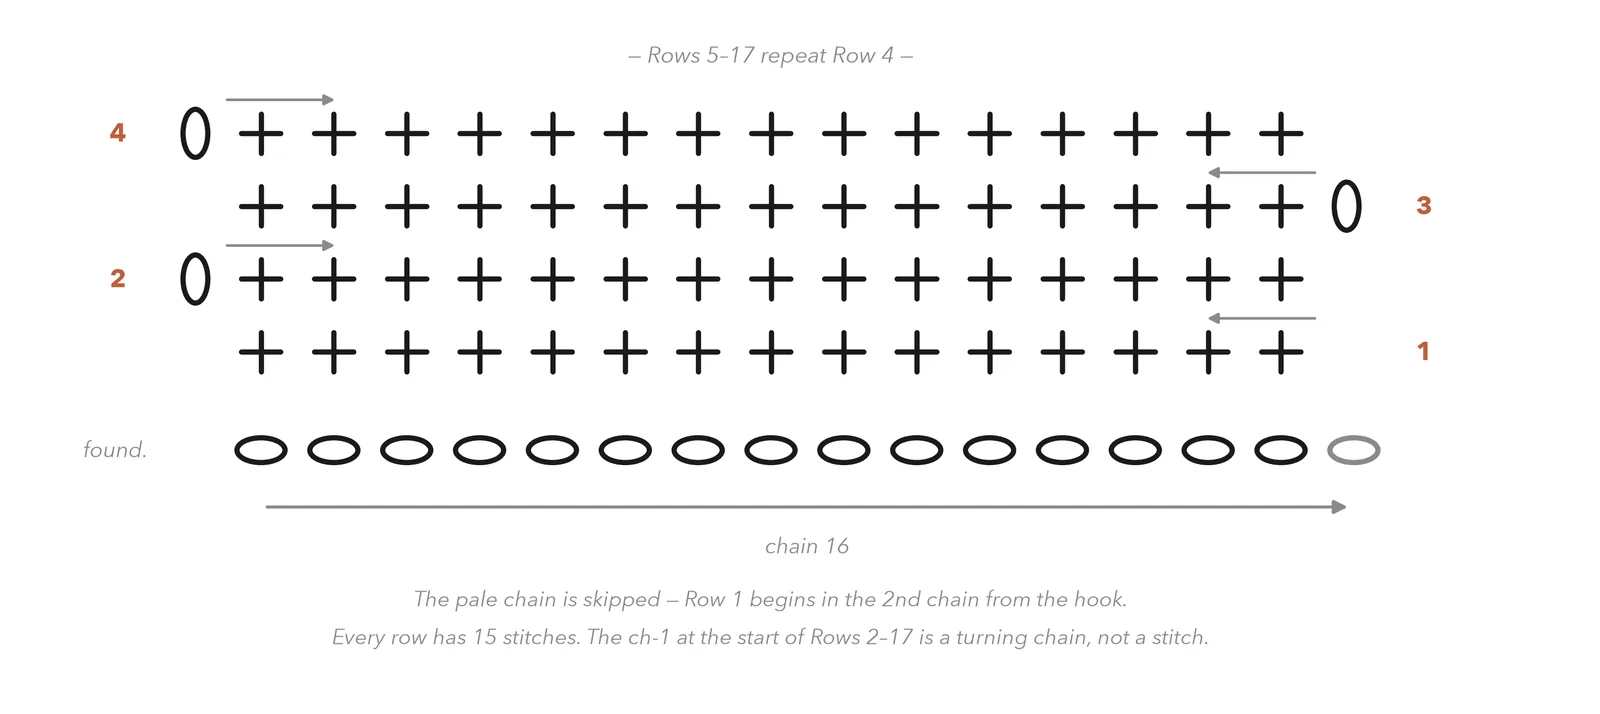
You do not need this chart to make the coaster; the written instructions above are complete on their own. It is here so that you start getting used to reading charts early, because by Pattern 10 the lace shawl will be much easier to follow as a picture than as a paragraph. Each + is one single crochet. Each oval is one chain.
Finishing
Cut the yarn about 15 cm / 6 in from your work. Yarn over and pull that cut end all the way through the last loop, then pull it snug. That is fastening off — the work can no longer unravel.
Thread the tail onto your tapestry needle. Weave it through the backs of 4–5 stitches along the edge, then reverse direction and weave back through 2–3 more. That change of direction is what locks it; a tail woven in a straight line will work its way out in the wash. Trim close — not flush, leave a few millimetres.
Repeat for the starting tail at the foundation edge.
Blocking is optional here. If your square is a little uneven, dampen it, pat it into shape on a towel, and let it dry flat. Cotton holds the correction well.
If something has gone wrong
You are missing the last stitch of each row. It hides directly above the turning chain and is easy to walk past. Before you turn, count — if you are one short, the missing stitch is at the far end. A stitch marker in the final stitch of each row fixes this habit within about three rows.
The opposite problem: you are working an extra stitch into the turning chain itself. In this pattern the ch 1 is never worked into. Your last single crochet goes into the last real stitch, and then you stop.
Your tension is tight. Try consciously pulling each loop up a little taller before completing the stitch, and loosen your grip on the hook. If it persists, move up to a 5.5 mm hook — there is no prize for using the hook on the label.
Tension is loose, or the loop is being pulled up too tall. Go down to a 4.5 mm hook, or let the yarn run over one more finger for a bit more friction. Loose-but-even still looks good; it is unevenness that shows.
Look for the V shapes lying along the top edge of the row — one V per stitch. It genuinely gets easier to see after the first project, and it is much easier in smooth cotton than in fuzzy yarn, which is another reason this pattern specifies cotton.
Caring for your finished piece
100% cotton: machine wash warm, tumble dry low or lay flat to dry. Cotton softens noticeably after the first wash and the stitches even themselves out, so a first coaster almost always looks better after a trip through the machine. It will absorb condensation rather than repel it, which is what you want under a cold glass.
What's next
Pattern 2 of 12
Simple Dishcloth
You now own the single crochet. Pattern 2 adds one stitch — the half double crochet — and it works up noticeably faster because the stitch is taller. It is the same flat rectangle you have just proved you can make, at a size that turns into something genuinely useful in a kitchen, and it introduces counting rows and reading your own gauge.