Pattern 5 of 12 · Intermediate · Home
Thirty-Six Squares
The granny square, and a baby blanket made of them
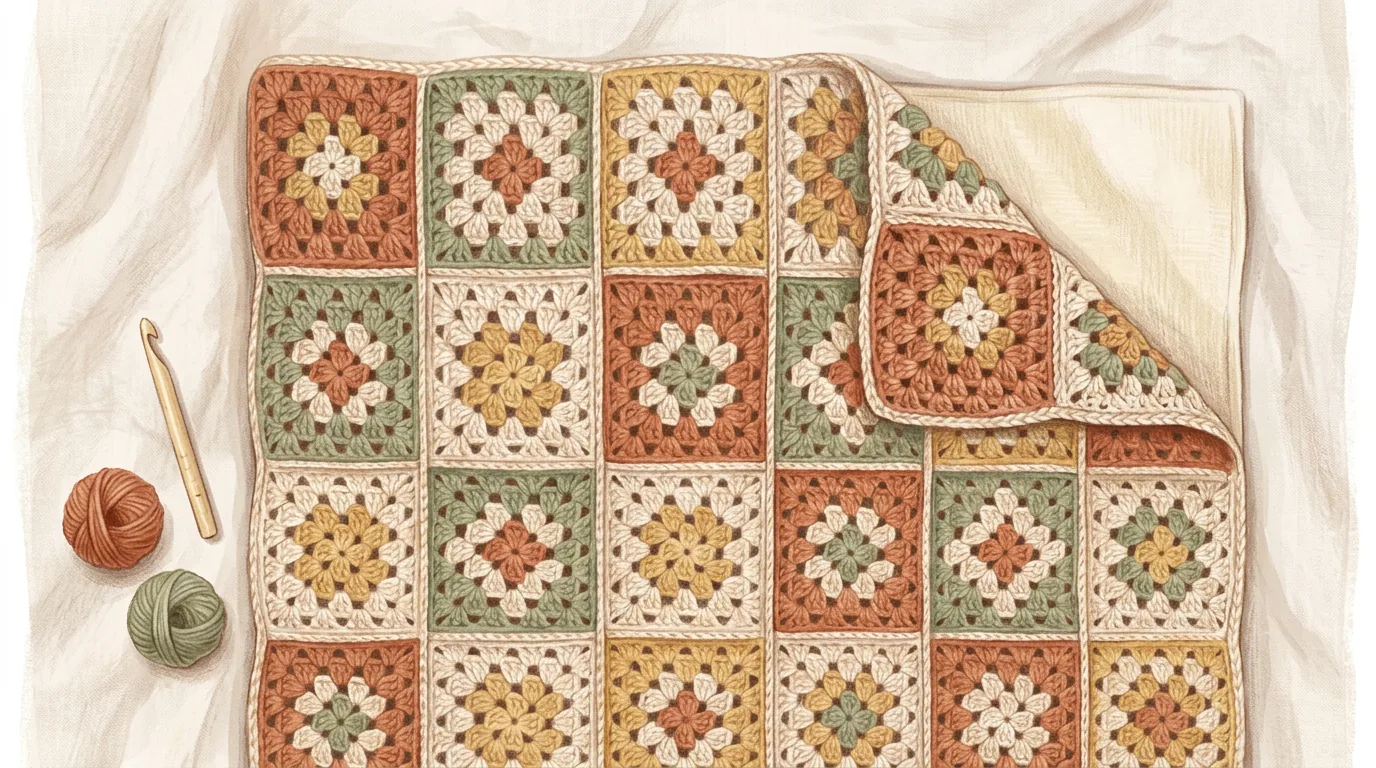
Design illustration. Colours and drape will vary with your yarn — this is a rendering of the design, not a photograph of a finished piece.
About this pattern
Everything so far has been a straight line. This is where you turn the corner — literally — and start working outwards from a centre point in rounds. The granny square is the oldest and best-loved shape in crochet, and once you can make one you can make a blanket, a cushion, a cardigan or a bag out of nothing else.
One square takes about twenty minutes. That is the quiet genius of this project: it is a large blanket built from pieces small enough to finish in a single sitting, so it never feels like a slog. Thirty-six squares, joined six by six, make a generous pram-sized blanket.
What this pattern teaches you
- Working in rounds from a magic ring
- Cluster stitches — groups of dc worked into a shared space
- Changing colour cleanly between rounds
- Joining motifs together with a slip stitch seam
- Working a border around a finished piece
Skills you'll own by the end
Before you start: Patterns 1–4. You need dc from Pattern 3 and a tidy seam from Pattern 4. Everything else here is new.
Materials
| Yarn | Worsted weight (Category 4) acrylic or cotton in 4 colours. Roughly 700 m / 765 yd in total, so about 175 m of each — one 100 g ball per colour is comfortable. Acrylic is the usual choice for baby blankets because it washes hot and dries fast. |
| Hook | 5.0 mm (US H-8) |
| Notions | Tapestry needle, scissors, tape measure |
| Optional | Stitch markers to keep track of joined rows |
Gauge
One finished square = 10.5 cm / 4¼ in across after 4 rounds
For this project, gauge is simply square size. Make one square and measure it before you make thirty-six. If yours comes out at 12 cm, your blanket will finish at 74 cm instead of 65 cm — which is fine, but you will need noticeably more yarn than the amount listed above.
Finished measurements
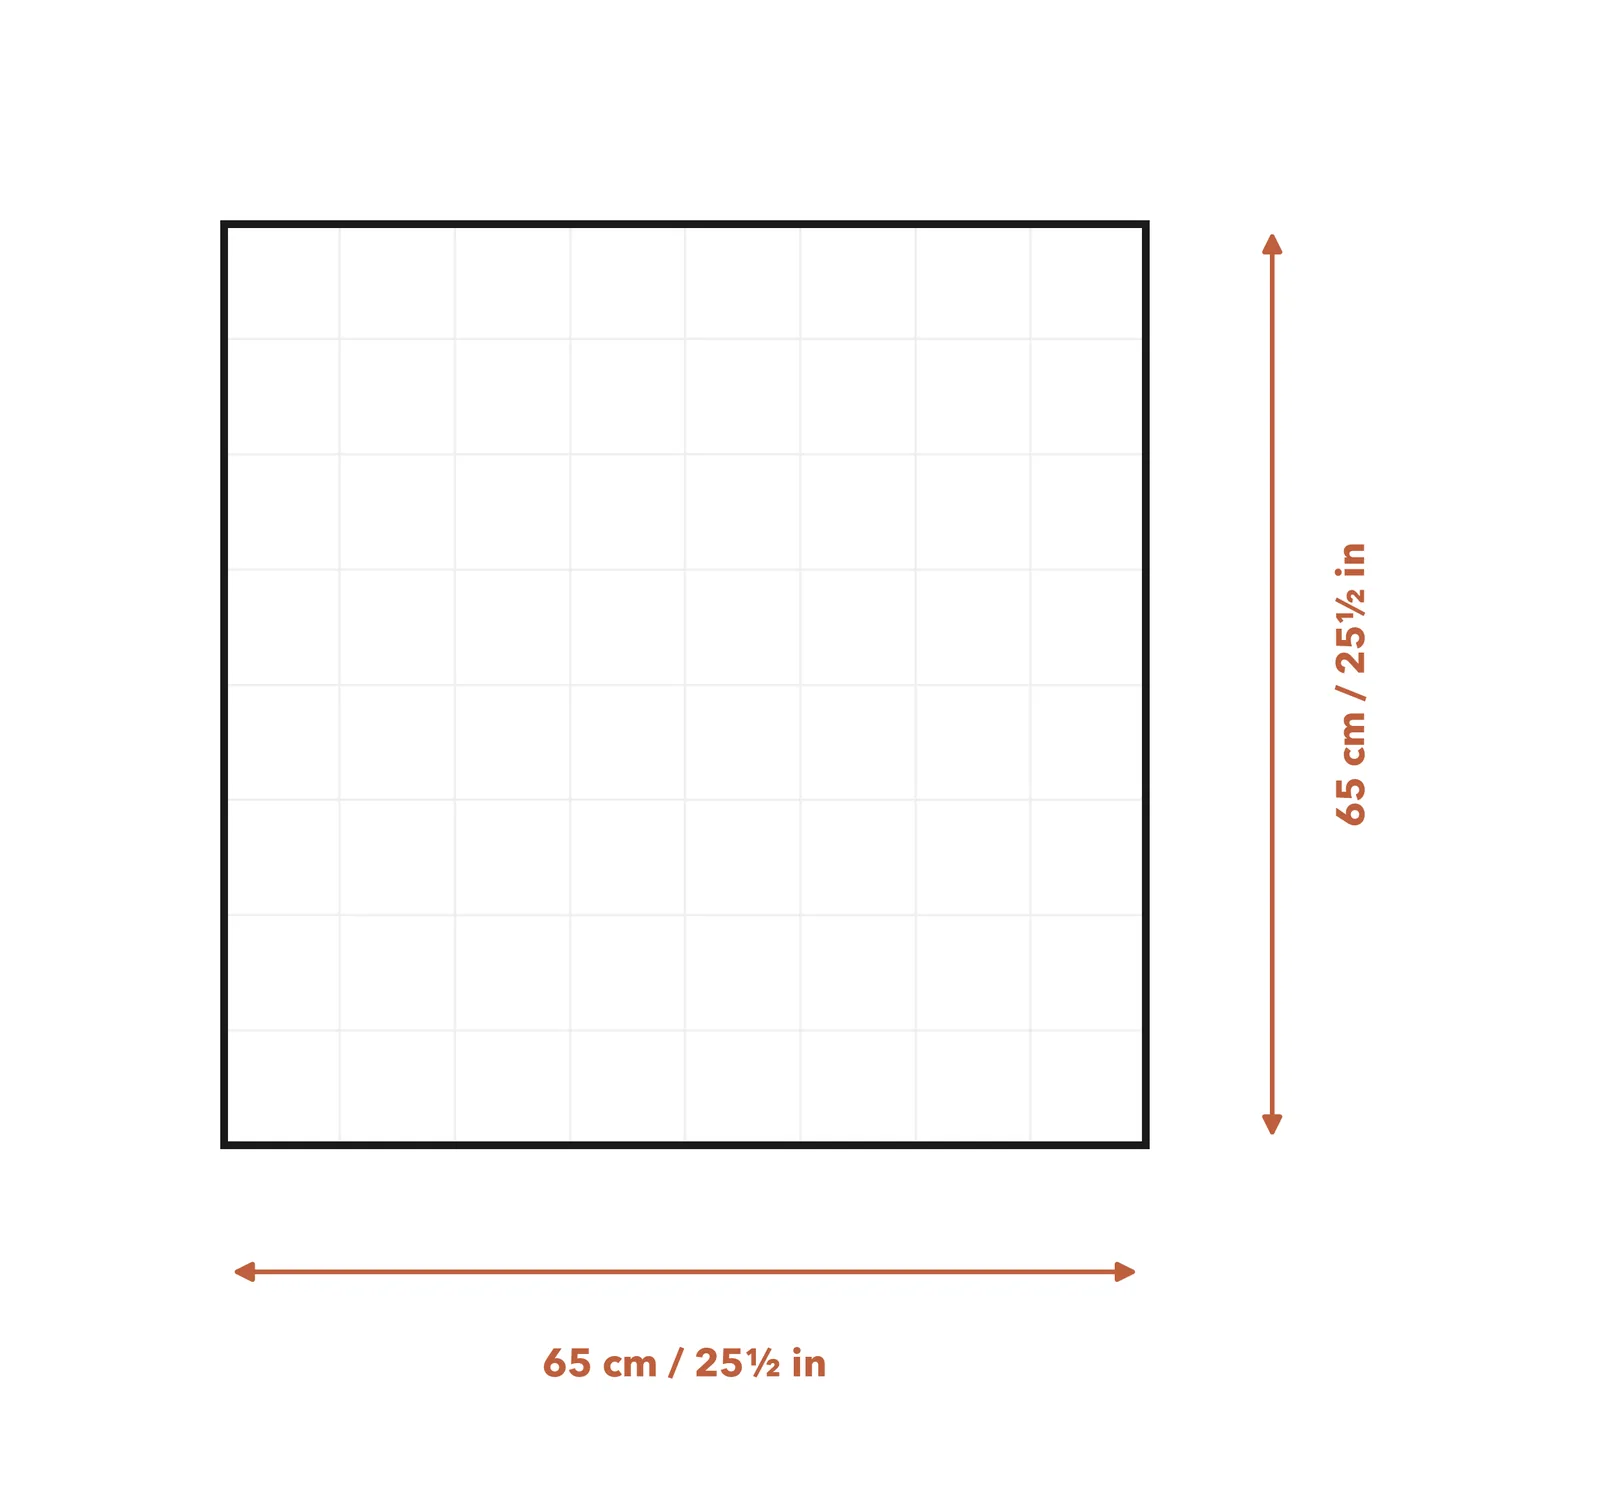
65 cm × 65 cm (25½ in × 25½ in), including border
Abbreviations
This pattern uses US crochet terms.
| ch | chain |
| sc | single crochet |
| dc | double crochet |
| sl st | slip stitch |
| sp(s) | space(s) |
| st(s) | stitch(es) |
| MR | magic ring |
| rep | repeat |
| rnd | round |
Special stitches
Magic ring (MR)
An adjustable loop that lets you work the first round into a hole you then pull completely shut — so there is no gap in the middle of your square.
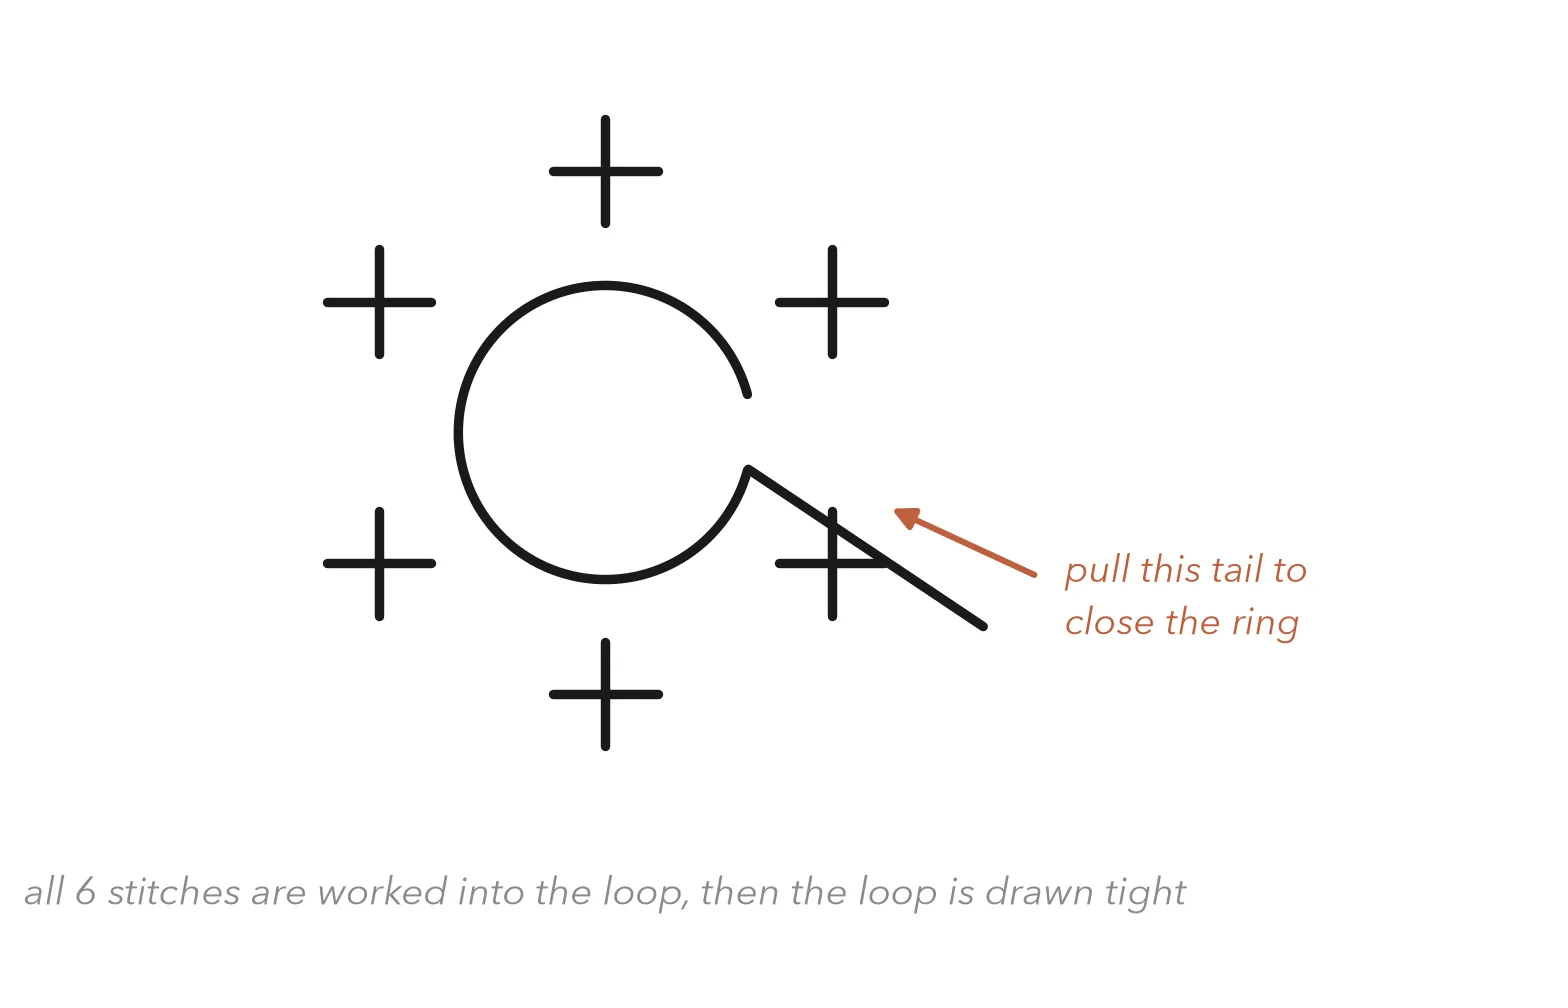
Wrap the yarn twice around two fingers, slide the loop off, and hold the crossing point between finger and thumb. Insert your hook into the loop, pull up a strand, and chain one to secure it. Now work the first round's stitches into the loop itself, over both strands. When the round is done, pull the loose tail and the hole closes.
If you find the magic ring frustrating on the first try — and many people do — ch 4 and join with a sl st to the first chain instead, then work Round 1 into that small ring. It leaves a tiny hole in the centre and is otherwise identical. Nobody will ever notice on a finished blanket.
Cluster (3-dc group)
The entire granny square is made of one repeating unit: three double crochets worked into the same space. That is all a cluster is.
Because all three share one space, they fan out slightly and leave a gap on either side — and those gaps become the spaces the next round is worked into. This is why the square grows outward so quickly, and why it has its characteristic open, airy look.
Instructions
The square — make 36
Worked in rounds, joining and turning at the end of each. Change colour every round for a classic look, or work each square in a single colour — both are shown in the photo styling notes.
Joining the squares
Lay all 36 squares out in a 6 × 6 grid on the floor and arrange the colours until you like them. Take a photo before you pick anything up — you will not remember the layout otherwise.
The border
Two rounds of single crochet to tidy the edge and square the whole thing up. Use whichever colour you want to frame the blanket.
Stitch chart
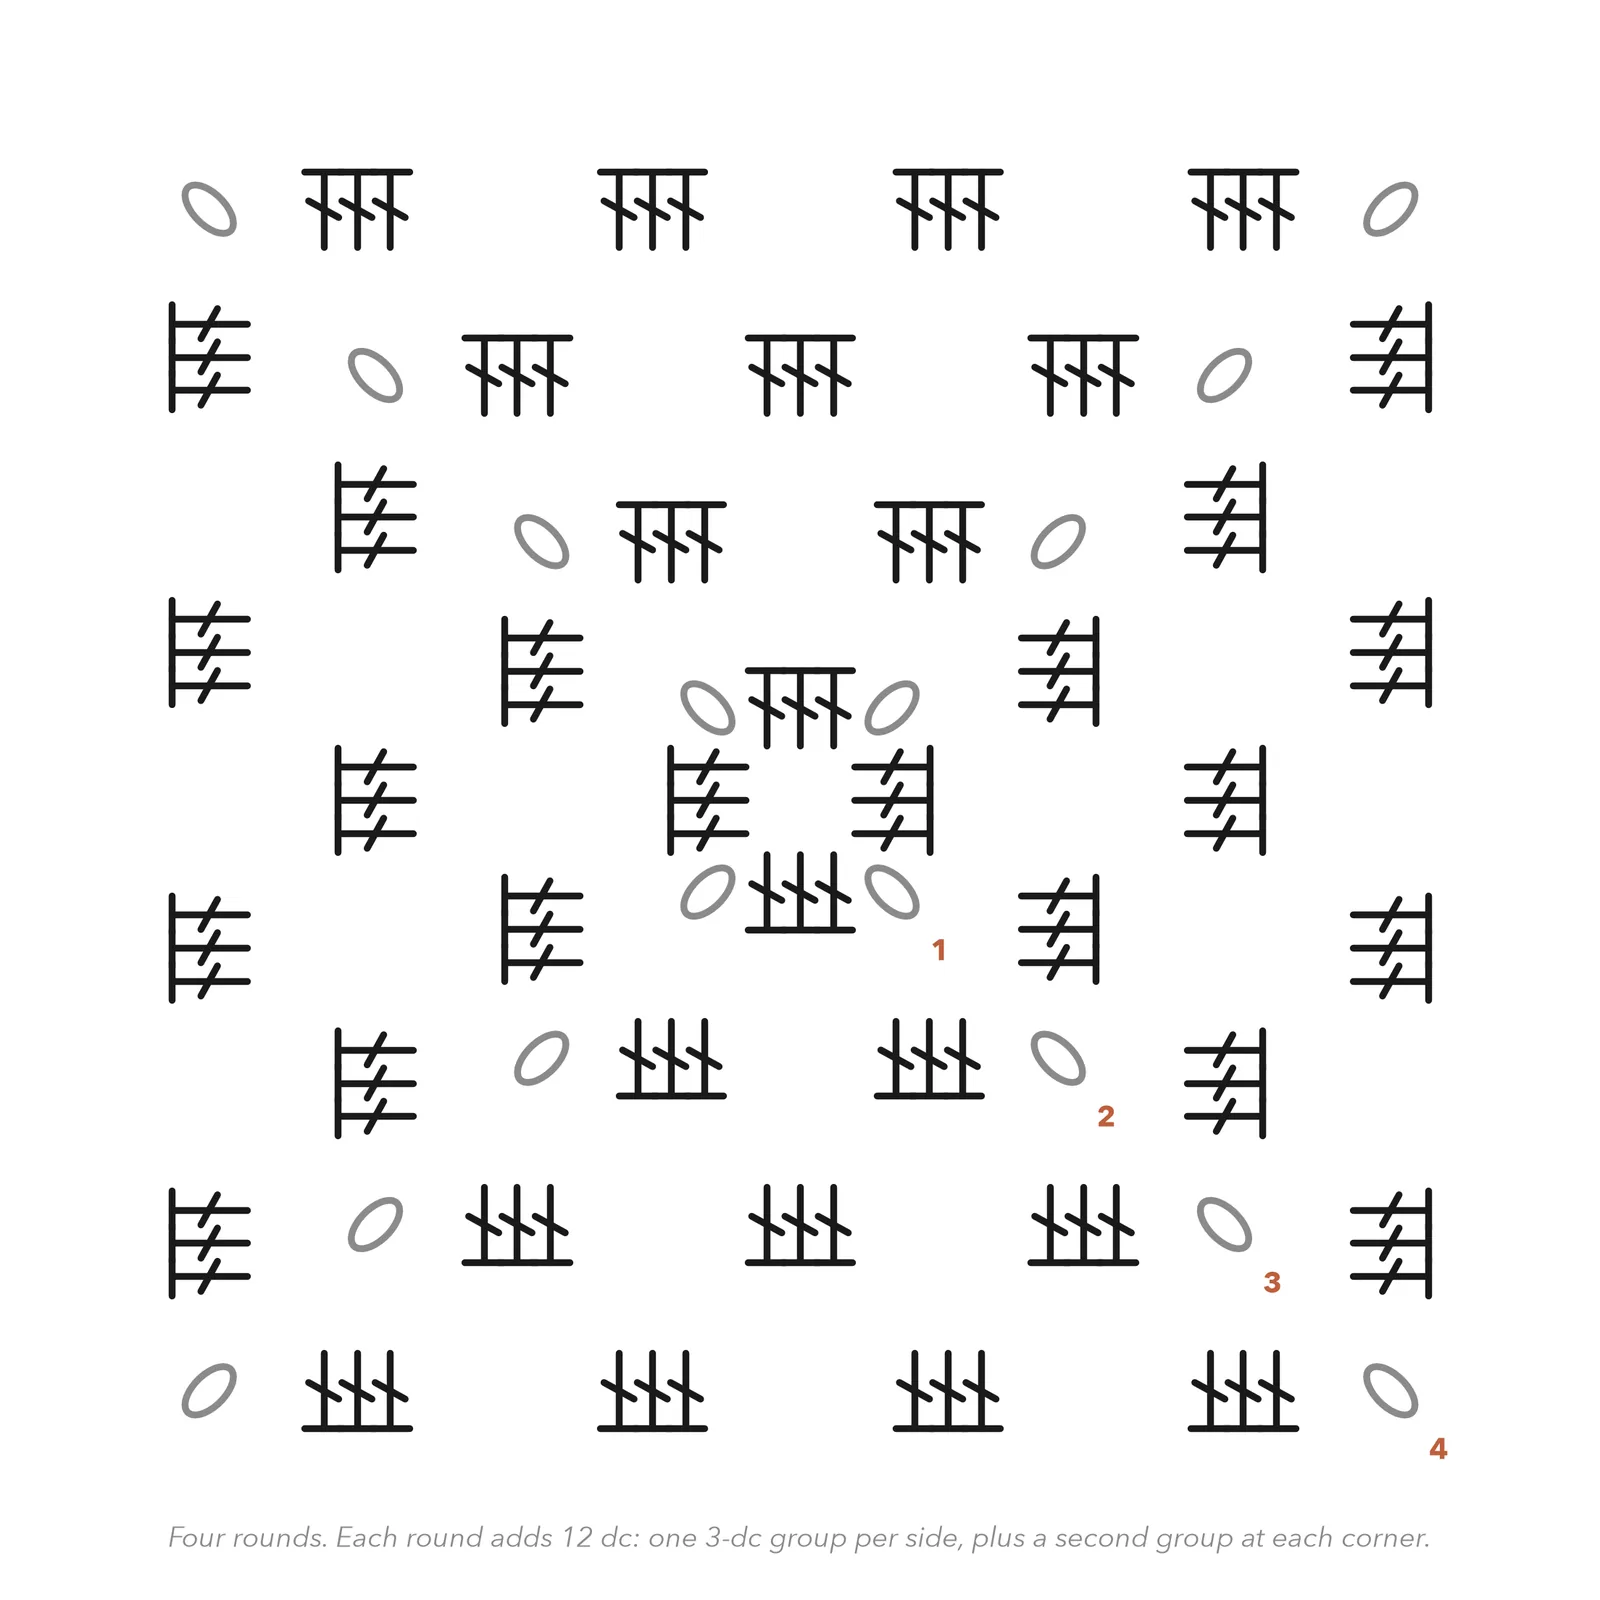
This is your first chart worked in the round, and it is read from the centre outwards. Follow one round at a time and you will see the structure immediately: clusters, spaces, and two clusters wherever the work turns a corner.
Finishing
Weave in every end. There will be a great many of them — budget an hour, put something on to watch, and work each tail into the back of its own colour so it stays invisible.
Block the finished blanket. Dampen it, lay it out on towels, and ease it into a true square, measuring the diagonals to check. Pin the corners if you have blocking pins. Let it dry completely.
Blocking matters more here than on anything you have made so far: it is what turns thirty-six slightly-different squares into one flat, even blanket.
If something has gone wrong
Normal, and it is tension drifting as you relax into the pattern — later squares are usually looser than early ones. Blocking evens out small differences. For larger ones, use your loosest squares in the centre and the tightest at the edges, where the border will discipline them.
You are not putting two clusters into the corner spaces. The corners are the only places that get a doubled cluster, and they are what make the corners sharp.
The magic ring was not pulled fully closed, or the tail has worked loose. Pull the tail firmly, then secure it by weaving it through the backs of the first round's stitches before you trim it.
Almost always fixed by the border and blocking. If it is still wavy afterwards, your border round has too many stitches in it — try again with fewer stitches per seam.
The slip stitch join is being worked too tightly. Go up a hook size for joining only. The seam should stretch about as much as the fabric on either side of it.
Caring for your finished piece
Acrylic: machine wash warm, tumble dry low — which is exactly what you want in something a baby will use. Cotton: machine wash warm, dry flat to keep the shape. Either way, reshape gently while damp. A granny blanket lasts decades if it is not repeatedly tumble dried on high heat.
What's next
Pattern 6 of 12
Everyday Beanie
You can work in rounds now — which means you can make things that fit a body. Pattern 6 takes the flat circle you have just learned and stops increasing at exactly the right moment, so it curves into a hat. It also introduces decreasing and a proper sizing table, and it is the first pattern in the collection you will make in three different sizes.