Pattern 7 of 12 · Intermediate · Home
To Market
An oval base, an openwork body, and handles that hold
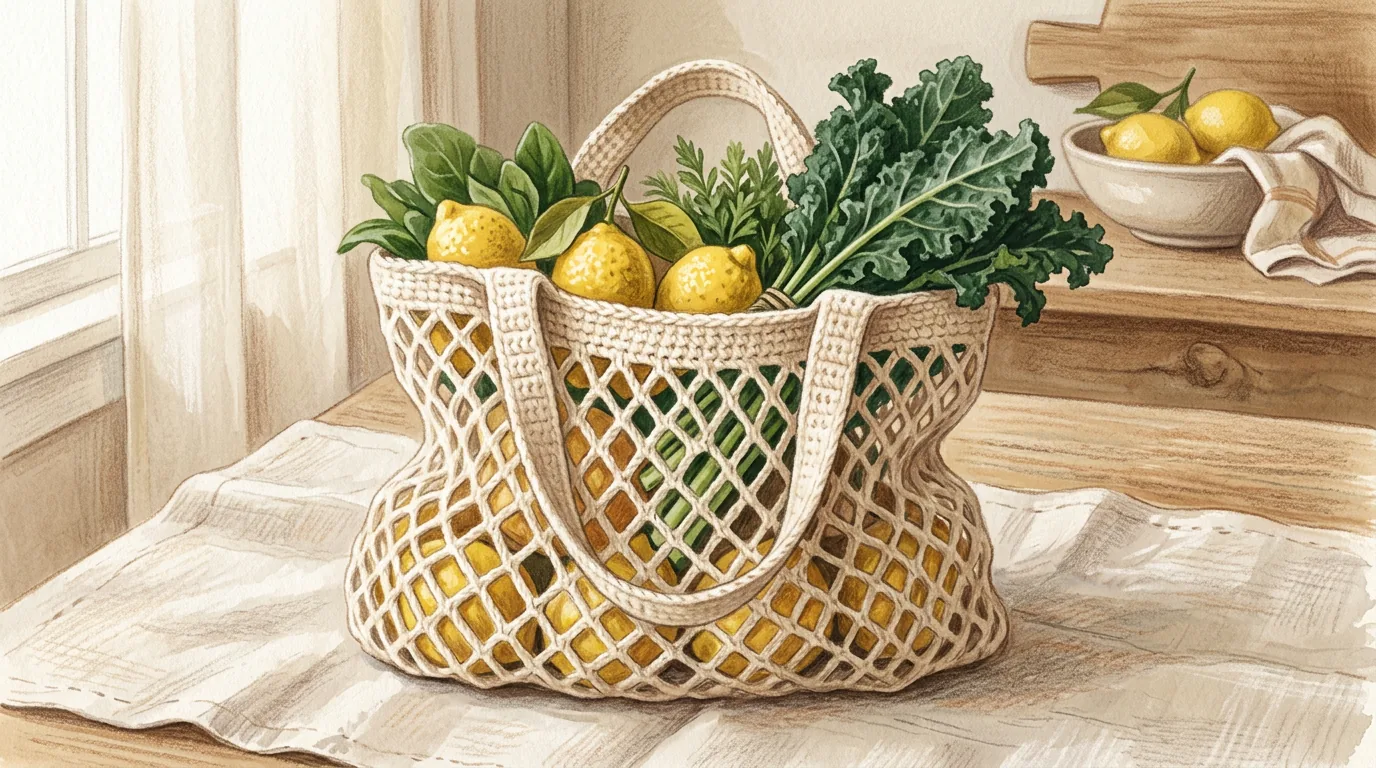
Design illustration. Colours and drape will vary with your yarn — this is a rendering of the design, not a photograph of a finished piece.
About this pattern
A circle makes a hat. An oval makes a bag — and everything else with a footprint, from slippers to baskets. The trick is that all the increases happen at the two curved ends while the straight sides stay straight, and this pattern shows you exactly how that works.
Above the base it becomes mostly holes. Openwork mesh uses very little yarn, grows extremely fast, and stretches to swallow far more shopping than the bag looks capable of holding. The handles are reinforced with three rounds of single crochet, because a handle is the one part of a bag that must not fail.
What this pattern teaches you
- Working an oval base in the round
- Placing increases so straight edges stay straight
- Mesh and openwork using chain spaces
- Working into a chain space rather than a stitch
- Building and reinforcing handles
Skills you'll own by the end
Before you start: Patterns 1–6. You need the magic ring, continuous rounds and confident increasing.
Materials
| Yarn | Worsted weight (Category 4) 100% cotton. Roughly 380 m / 415 yd — two 100 g balls. Cotton is the right fibre here for a structural reason: it does not stretch out of shape under weight the way acrylic and wool do, and a bag spends its life under weight. |
| Hook | 5.0 mm (US H-8) |
| Notions | Stitch marker, tapestry needle, scissors, tape measure |
Gauge
14 sc × 16 rounds = 10 cm / 4 in in single crochet
Gauge here controls how much the bag holds and how well it survives being full. Err on the tight side rather than the loose: a loosely worked cotton mesh sags and the holes stretch into gaps big enough to lose an apple through.
Finished measurements
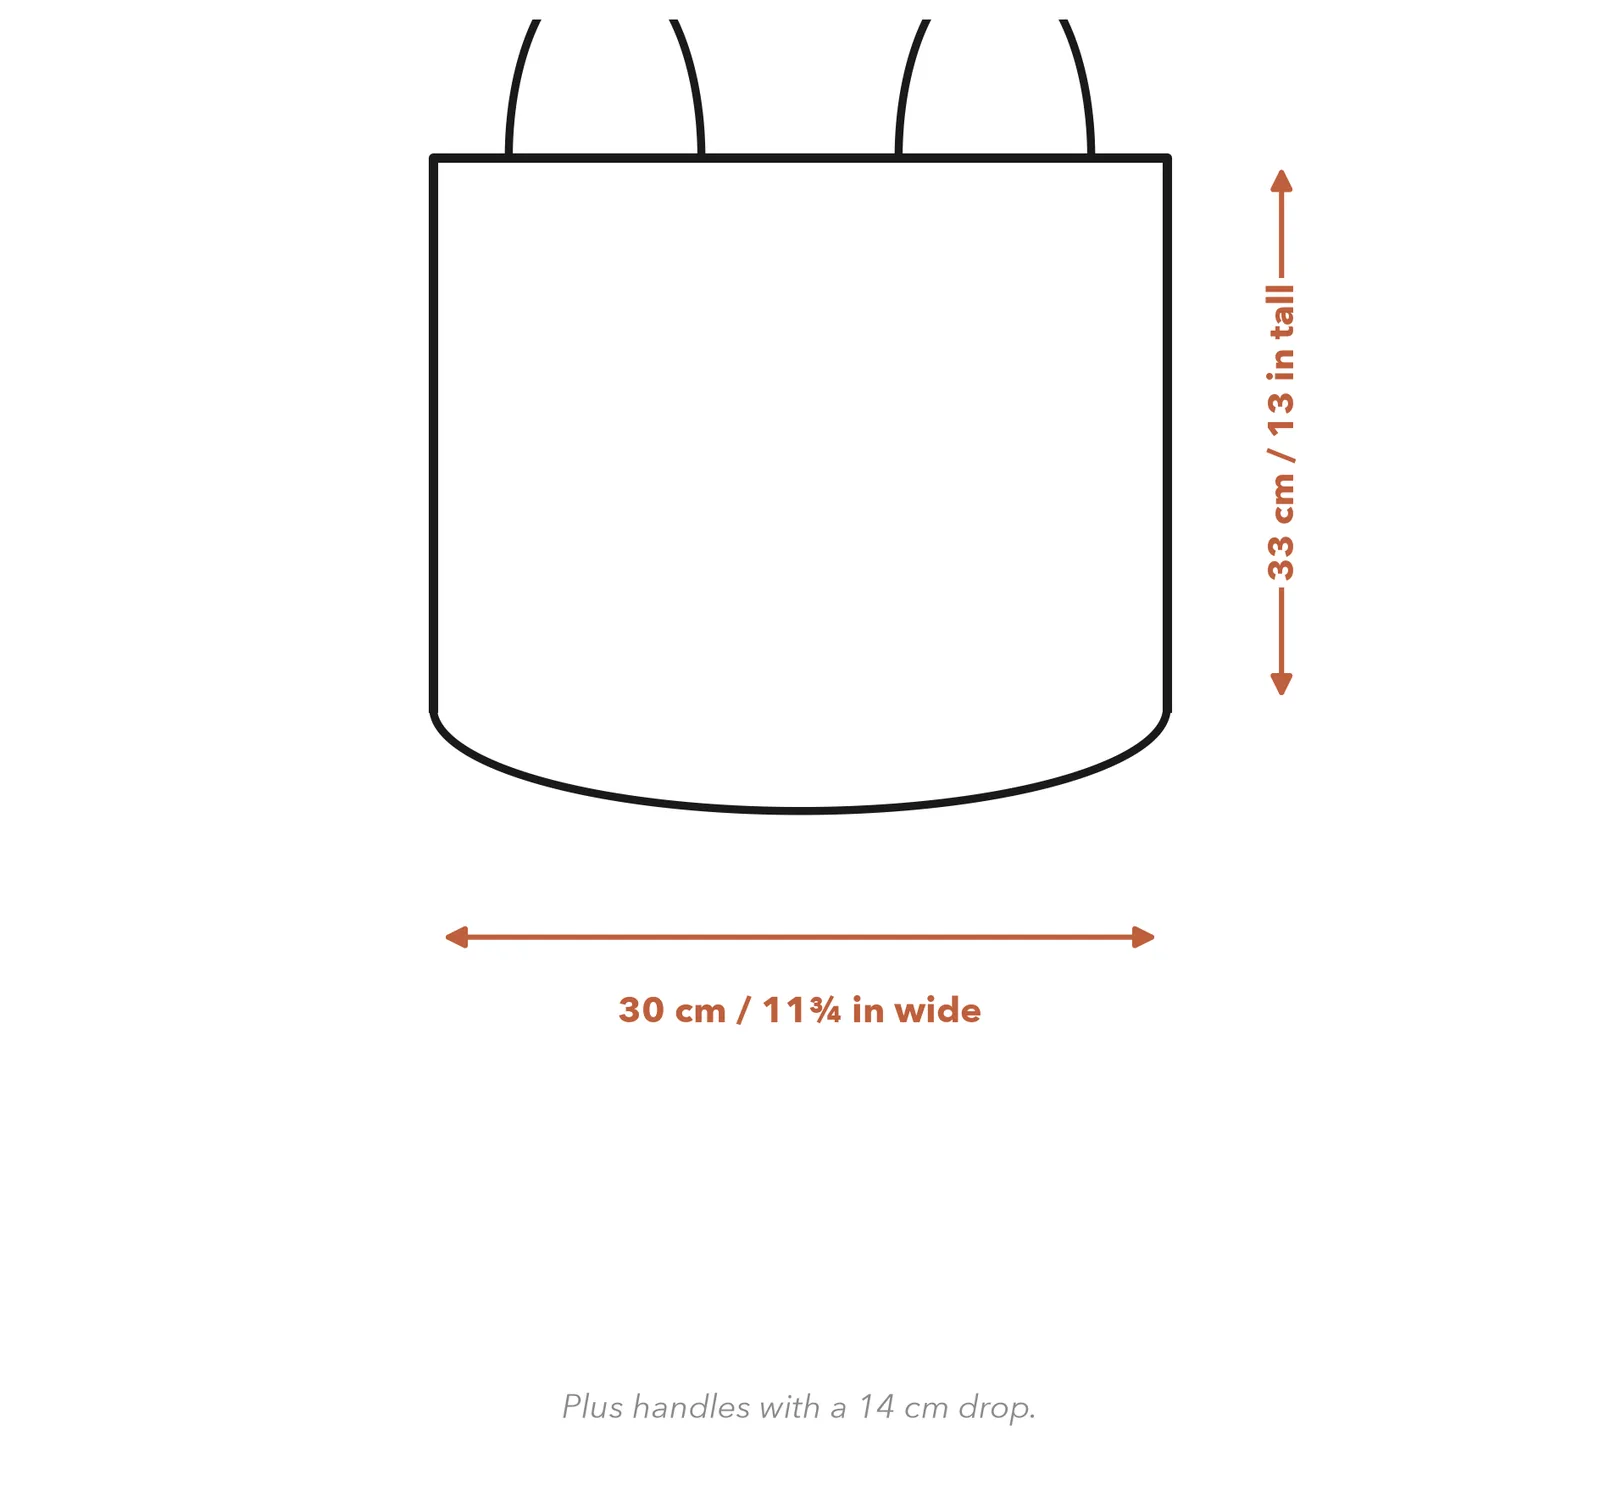
30 cm wide × approx. 33 cm tall, with handles that drop 14 cm (11¾ in × 13 in, 5½ in drop)
Abbreviations
This pattern uses US crochet terms.
| ch | chain |
| sc | single crochet |
| sl st | slip stitch |
| sp(s) | space(s) |
| st(s) | stitch(es) |
| BLO | back loop only |
| sk | skip |
| inc | increase — 2 sc in the same stitch |
| rnd | round |
| rep | repeat |
Special stitches
The oval base
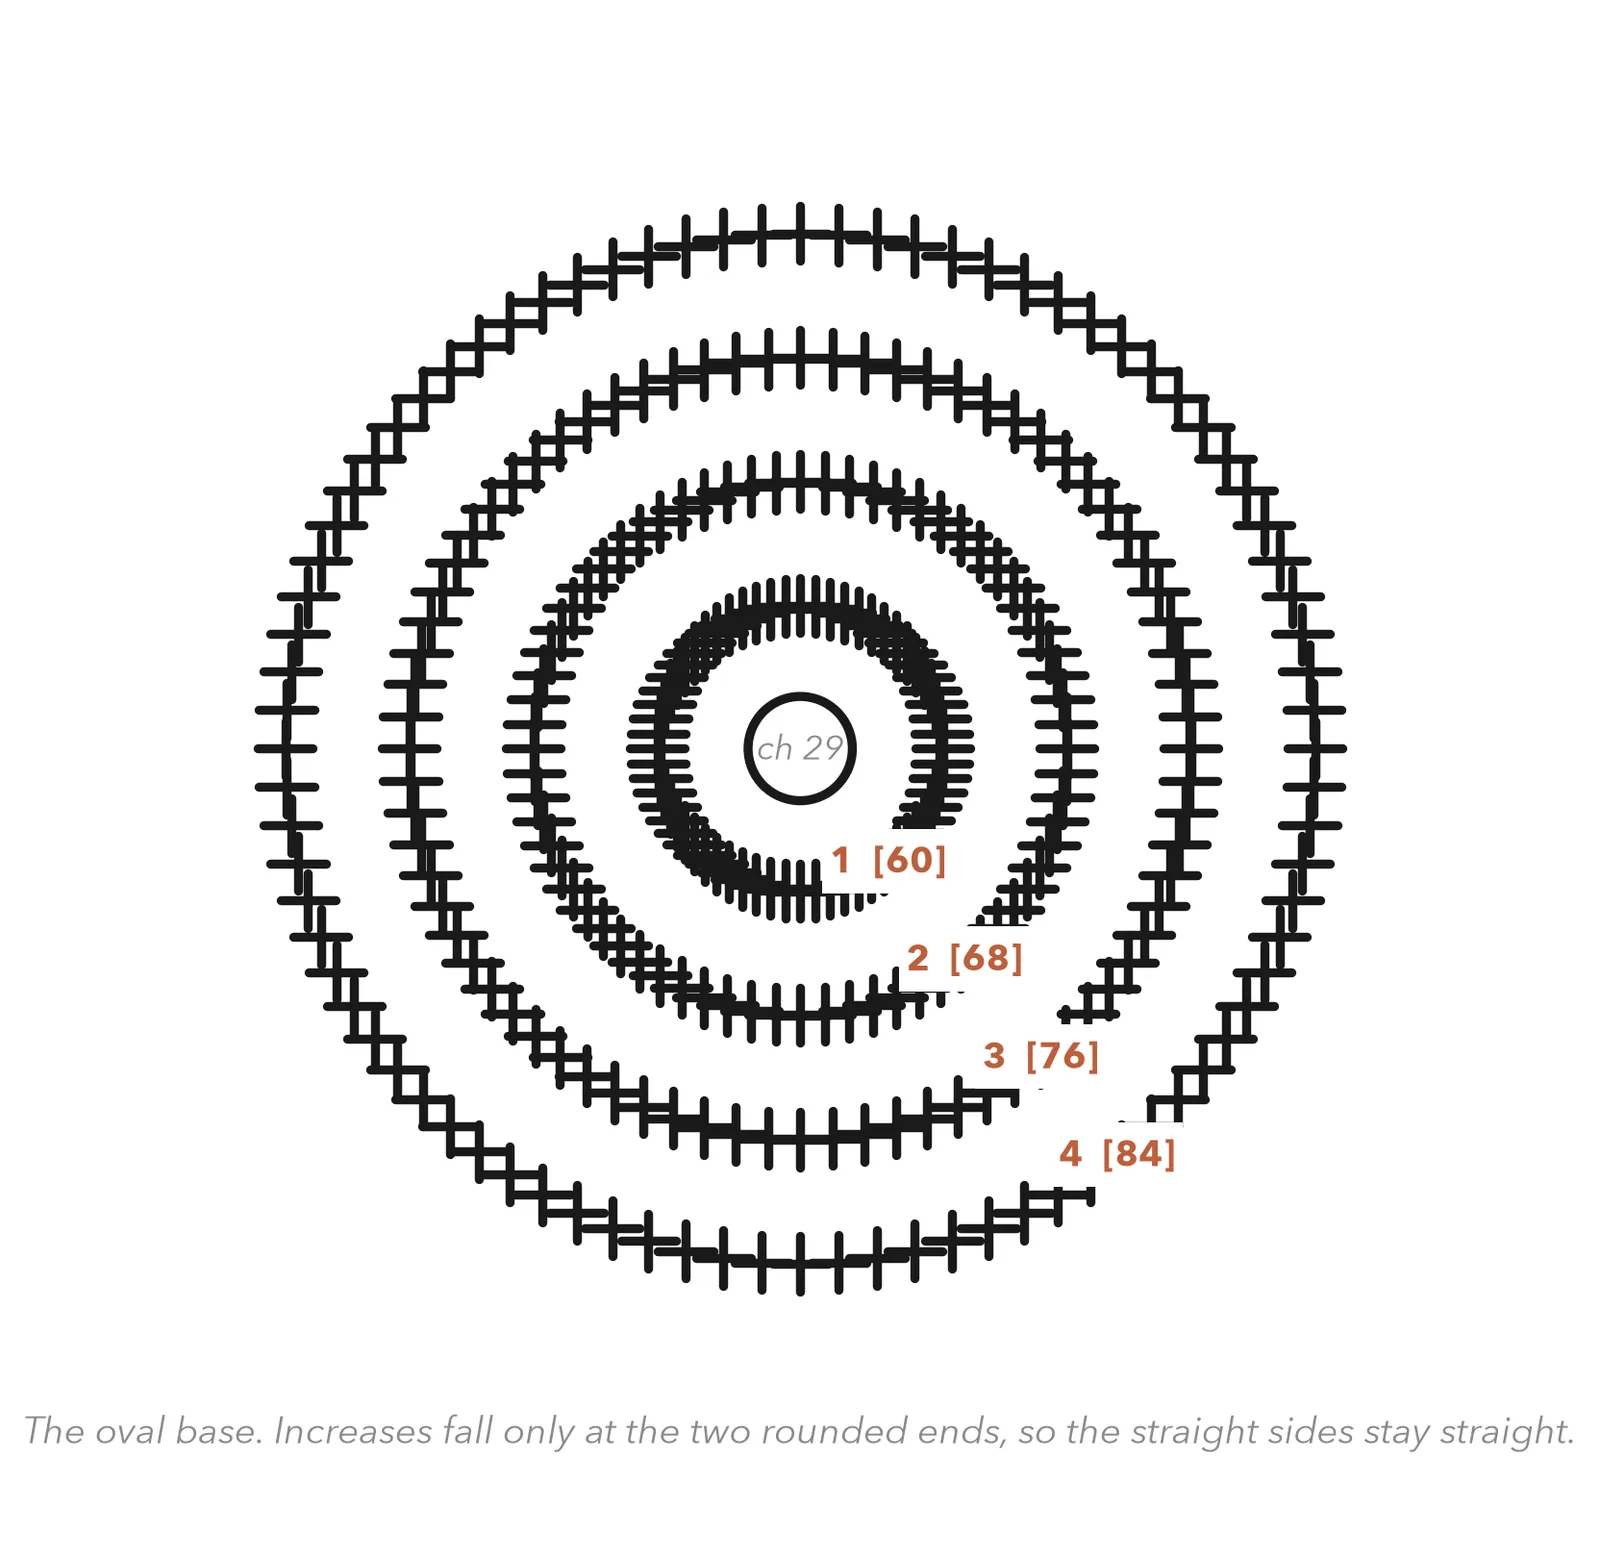
An oval is a circle cut in half with a straight section inserted in the middle. You work along one side of a foundation chain, put several stitches into the end chain to turn the corner, work back along the other side of the same chain, and turn the second corner.
The important part is where the increases go. Every round, increases happen only at the two curved ends. The straight sides get one stitch per stitch and no more. Put increases along the sides and your flat base will start to ruffle into a bowl.
Chain-space mesh
Instead of working into the top of a stitch, you work into the hole made by a chain. Insert the hook right into the space under the chain — not into an individual chain stitch — and work your single crochet there.
Each round is then simply: chain three, single crochet into the next space, repeat. The chain arches over, the single crochet anchors it, and the result is a lattice of diamonds.
Working into the space rather than the stitch is a technique you will meet again in the lace shawl in Pattern 10, where the whole fabric is built from it.
Instructions
The base
Worked in continuous rounds around both sides of a foundation chain. Mark the first stitch of every round.
The mesh body
Now the bag turns to openwork. Counts here are chain spaces, not stitches.
The top band and handles
Back to solid single crochet, which gives the opening structure and gives the handles something strong to grow out of.
Stitch chart
An oval is awkward to chart honestly, so this one shows the round structure rather than the true shape. The written instructions are the authority for where the increases fall — read them alongside the schematic to picture what is happening.
Finishing
Weave in all ends, working the handle tails deep into the handle itself where they will be under the least strain.
Block the base if it will not sit flat: dampen the bag, stuff it with a towel to hold its shape, and stand it upright to dry.
If you would like a lining, cut fabric to the base and body dimensions plus a 1.5 cm seam allowance, sew it into a bag shape, and slip stitch it to the inside of the top band. A lining turns this into a bag that can carry a laptop rather than only vegetables.
If something has gone wrong
Too many increases, or increases placed along the straight sides instead of only at the ends. The straight sides get one stitch per stitch — no exceptions.
Too few increases at the ends. Each round needs six, all of them distributed around the two curves.
The stitch count going into Round 7 must be divisible by three. If you added or lost stitches in the base, adjust on Round 6 by working an increase or a decrease to reach a multiple of three, then carry on.
The two ch-40 loops were not chained at the same tension. Unpick the shorter one back to Round 23 and redo it, counting aloud. Uneven handles make a bag hang crooked forever.
That is what mesh does, and it is largely the point — it folds into a pocket. If you want a bag that stands up, work the body in plain sc rather than mesh, using 84 sc per round for the same number of rounds.
Caring for your finished piece
100% cotton: machine wash warm, dry flat or line dry. Reshape the base while damp. Do not tumble dry — cotton shrinks, and a shrunk mesh loses its stretch. If the bag gets heavy use, wash it occasionally rather than often; cotton wears at the handles first.
What's next
Pattern 8 of 12
Textured Cushion Cover
Pattern 8 closes the intermediate tier with the most satisfying technique in crochet: post stitches. By working around the body of the stitch below instead of into its top, you can raise parts of the fabric into relief — and alternating blocks of raised and recessed stitches gives you a deep basketweave texture that looks far harder than it is. It is also the foundation of the cables in Pattern 11.