Pattern 8 of 12 · Intermediate · Home
Basketweave
Raised texture from stitches you already know
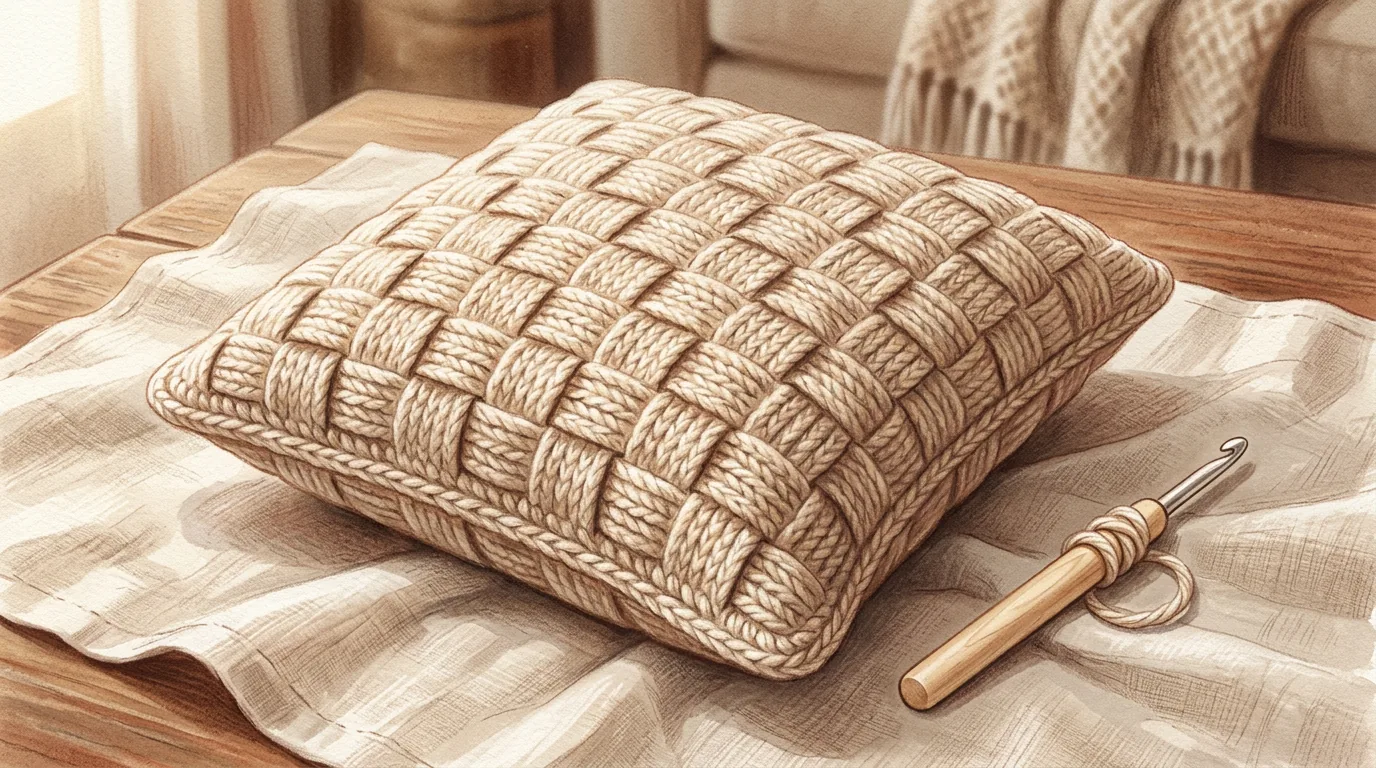
Design illustration. Colours and drape will vary with your yarn — this is a rendering of the design, not a photograph of a finished piece.
About this pattern
Every stitch so far has been worked into the top of the stitch below. Post stitches go around it instead — under the whole body of the stitch, from front to back or back to front. The stitch is pushed forward or pulled backward, and suddenly flat fabric has relief.
Alternate blocks of four raised and four recessed stitches, swap them every four rows, and you get basketweave: a deep woven texture that looks like it took a specialist to make. It is the single best value-for-effort technique in crochet, and it is also exactly how the cables in Pattern 11 are built.
What this pattern teaches you
- Front post double crochet (FPdc)
- Back post double crochet (BPdc)
- Building a basketweave from alternating blocks
- Making an envelope back with overlapping panels
- Joining panels with a single crochet seam
Skills you'll own by the end
Before you start: Patterns 1–7. Solid double crochet is essential — post stitches are dc worked in a different place, nothing more.
Materials
| Yarn | Worsted weight (Category 4) wool or wool blend. Roughly 550 m / 600 yd. Wool shows texture far better than acrylic, which tends to flatten and go shiny — and texture is the entire point of this pattern. |
| Hook | 5.0 mm (US H-8) |
| Notions | Tapestry needle, scissors, tape measure, 40 × 40 cm cushion insert |
| Optional | Three or four buttons, if you would rather fasten the envelope than leave it open |
Gauge
16 sts × 8 rows = 10 cm / 4 in in basketweave pattern
Post stitches pull the fabric in noticeably — a basketweave swatch will measure narrower than a plain double crochet swatch of the same stitch count. That is why the back panels here use 56 stitches to reach the same width the front reaches with 64. Swatch in pattern, not in plain dc, or the front and back will not match.
Finished measurements
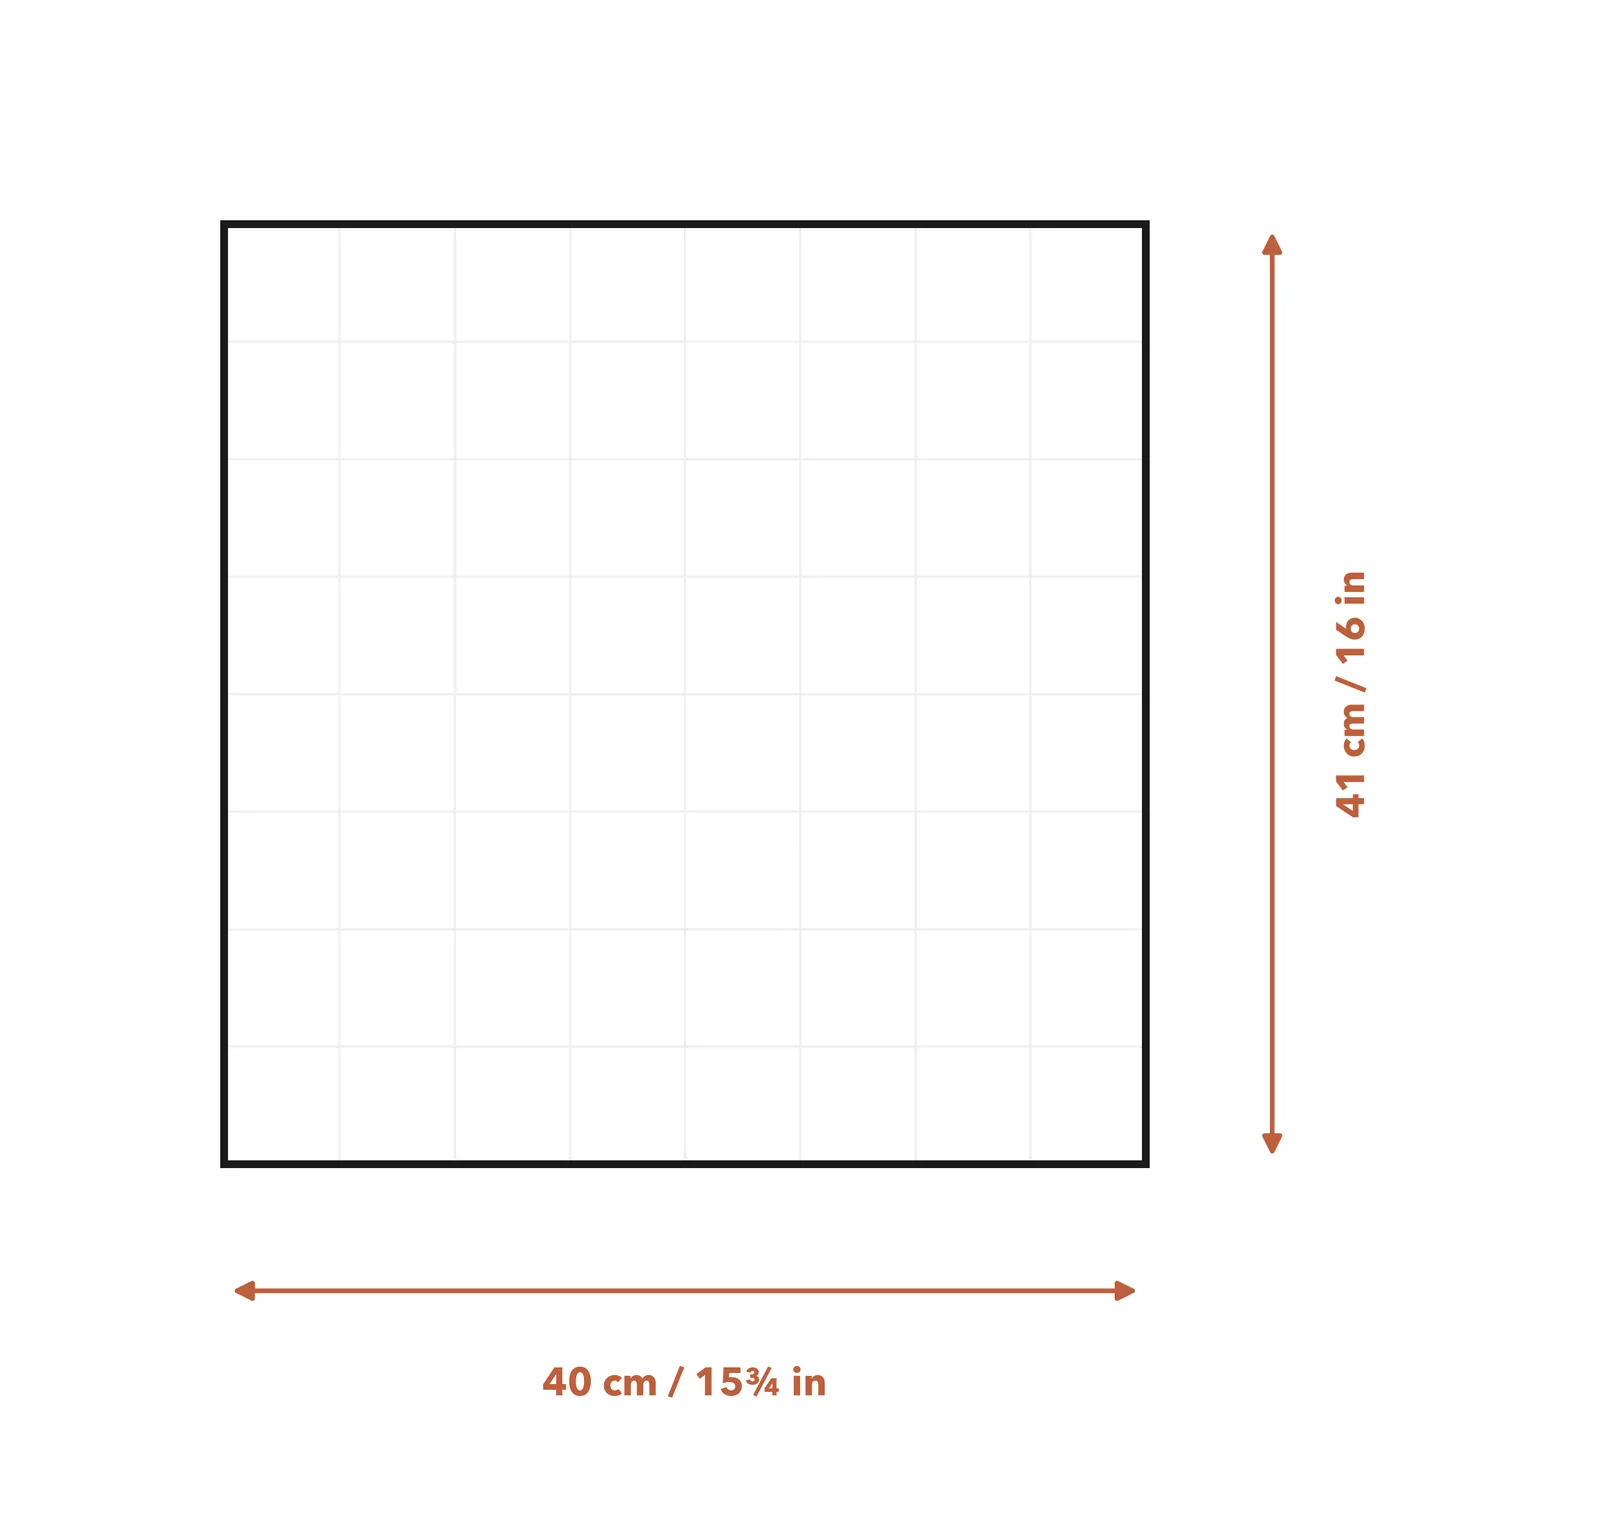
40 cm × 41 cm (15¾ in × 16 in), to fit a 40 cm insert
Abbreviations
This pattern uses US crochet terms.
| ch | chain |
| sc | single crochet |
| dc | double crochet |
| FPdc | front post double crochet |
| BPdc | back post double crochet |
| st(s) | stitch(es) |
| rep | repeat |
| RS | right side |
| WS | wrong side |
Special stitches
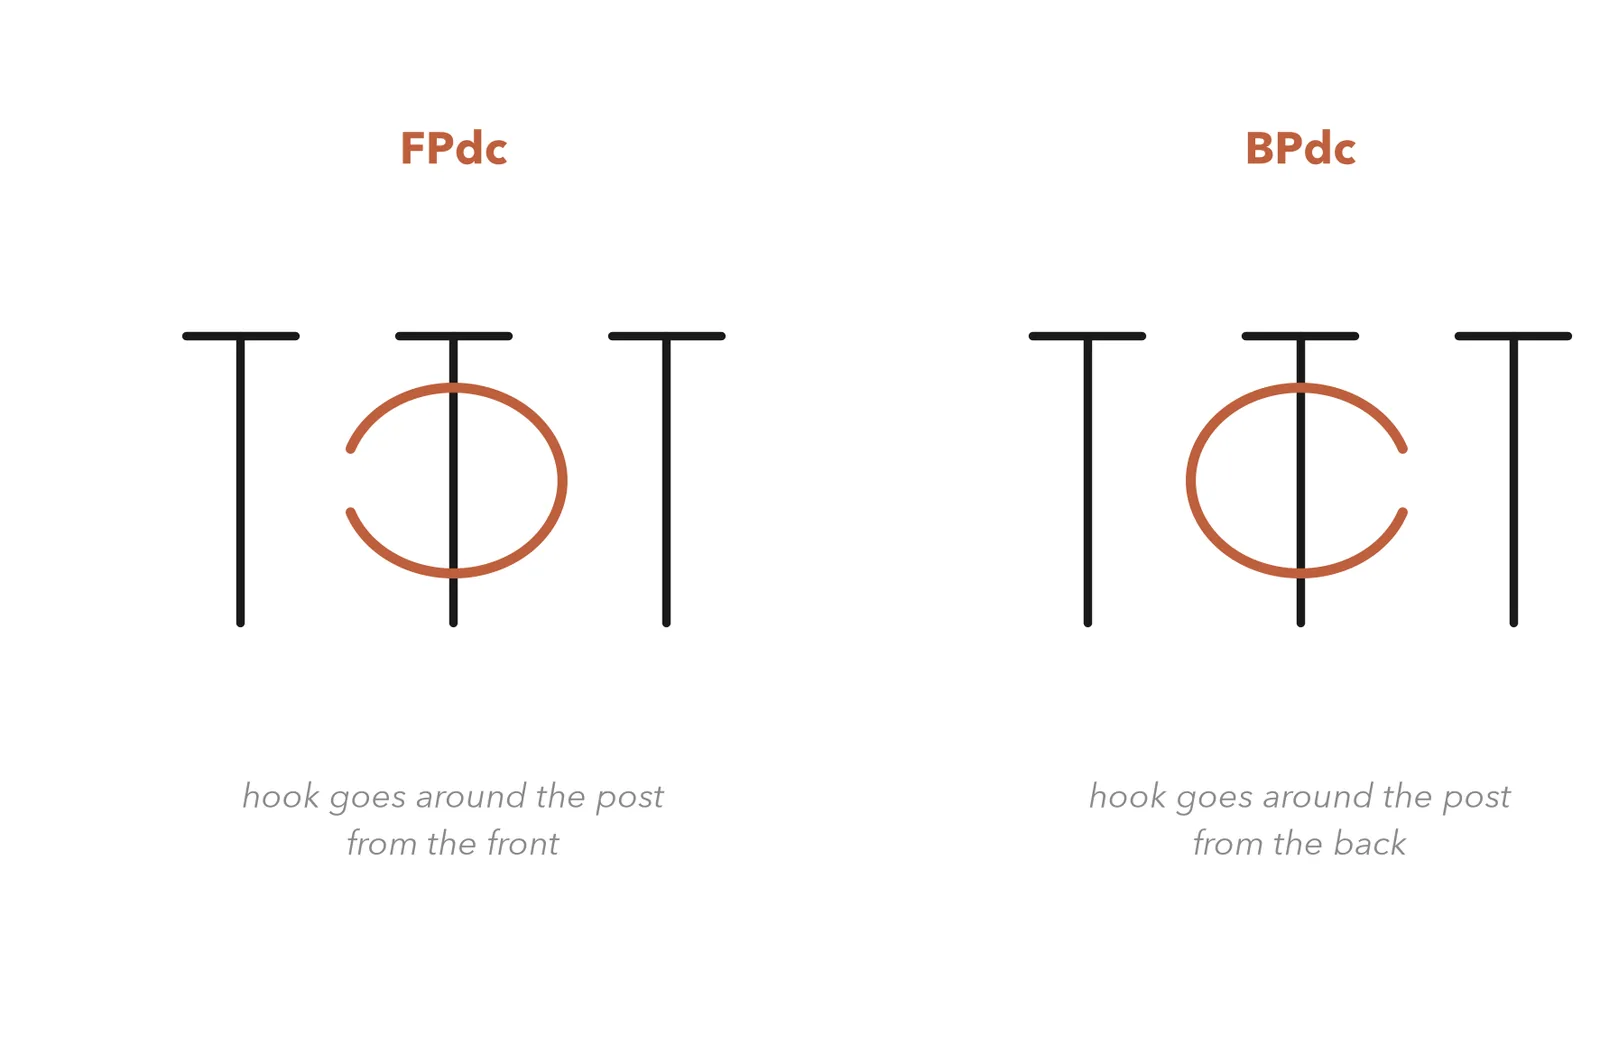
Front post double crochet (FPdc)
Yarn over. Instead of going into the top of the next stitch, insert your hook from the front, around the back of that stitch's post, and out to the front again — so the hook passes right around the body of the stitch. Then complete a normal double crochet.
The finished stitch sits proud of the fabric, pushed toward you. The top of the stitch you worked around is left untouched and disappears behind.
Back post double crochet (BPdc)
The mirror image. Yarn over, insert the hook from the back, around the front of the post, and out to the back again. Complete a normal double crochet.
This one recedes — it pulls the stitch away from you. Raised next to recessed is what creates the woven look, and it is why the fabric is reversible: the back of the cushion shows the same basketweave with the blocks swapped.
How the basketweave is built
Blocks of four. Across a row you alternate four FPdc, four BPdc, four FPdc, and so on — eight repeats of eight stitches across the 64-stitch row.
You keep that arrangement for four rows, so each block is four stitches wide and four rows tall. Then you swap: where you worked FPdc you now work BPdc, and vice versa. Four more rows, swap again.
The easiest way to keep track: look at the stitch below. In the first row of a new block, work the opposite of what you see — a raised stitch below gets a BPdc, a recessed one gets an FPdc. In the other three rows of the block, match what you see.
Instructions
Front panel
Worked flat in rows. The ch 2 at the start of each row is a turning chain and never counts as a stitch.
Back panels — make 2
Plain double crochet, no texture. These two panels overlap at the centre back to form the envelope opening.
Assembly
One round of single crochet joins everything and finishes the edge at the same time.
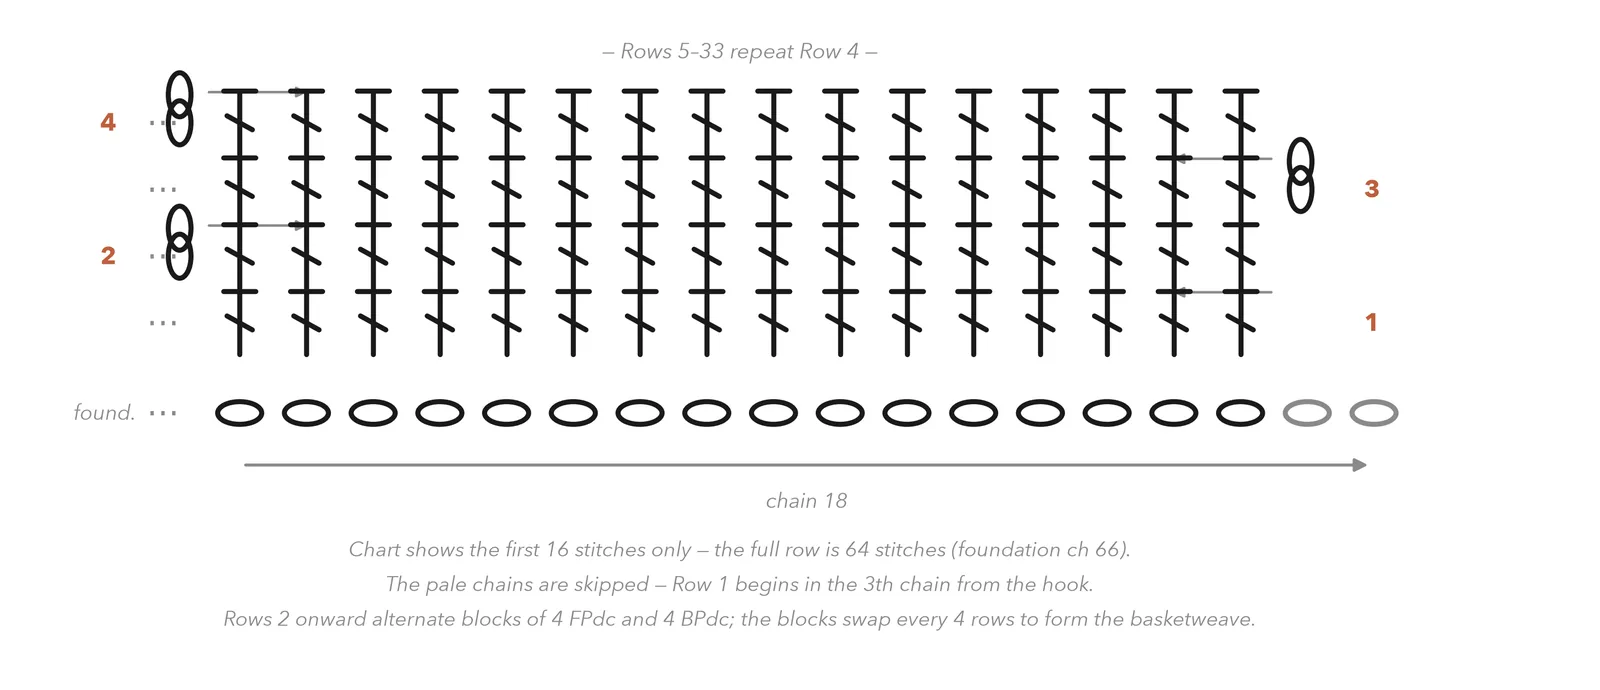
Stitch chart
Post stitches have their own chart symbols — a normal double crochet post with a little hook at the bottom, curling toward the front or the back. Once you can read those two symbols you can read almost any textured crochet chart, including cables.
Finishing
Weave in all ends into the seam allowance on the inside, where they will never work loose or show.
Blocking is optional and should be done carefully if at all. Steam gently from a distance if the edges are uneven — but do not press. Pressing a basketweave flattens the relief permanently, undoing the entire pattern.
For a button closure, sew three or four buttons evenly along the overlapping edge of the top back panel and use the natural gaps between double crochets on the underneath panel as buttonholes. No extra crochet needed.
If something has gone wrong
Either you are working into the tops of the stitches instead of around the posts, or your tension is loose. Post stitches need to be worked firmly to stand up. Try one hook size down for the front panel.
You have changed block position on the wrong row. Count in fours from Row 2: rows 2–5, 6–9, 10–13 and so on. If you lose your place, look at the fabric — the last complete block tells you where you are.
A very common post-stitch mistake: after working around a post, the top of that stitch is easy to mistake for an unworked stitch, so people work it twice — or skip the turning chain's stitch entirely. Count 64 at the end of every row for the first few rows until the rhythm is automatic.
The stitch at each end sits next to the turning chain and has less support. Work it as the pattern says and it will settle once the join round is on. If it bothers you, work the first and last stitch of every row as a plain dc rather than a post stitch — a common and perfectly respectable variation.
Expected if your basketweave pulls in harder than the stated gauge. Simply remove stitches from the back panels until they match. Matching is what matters; the numbers are only a starting point.
Caring for your finished piece
Wool: remove the insert, hand wash the cover cool, press the water out in a towel and dry flat, easing the texture back into shape while damp. Never wring or tumble dry wool. Wool blends with a high acrylic content can go through a wool cycle on the machine. Cushion covers collect dust rather than dirt, so airing them outdoors does most of the work between washes.
What's next
Pattern 9 of 12
Amigurumi Bear
The advanced tier starts here, and it starts small. Amigurumi is crocheted in tight spirals with a hook far smaller than the yarn would normally take, so the fabric is dense enough that stuffing cannot escape through it. Pattern 9 makes a jointed bear from seven separate pieces — and teaches you the invisible decrease, which is the technique that separates a smooth amigurumi from a lumpy one.